 Save
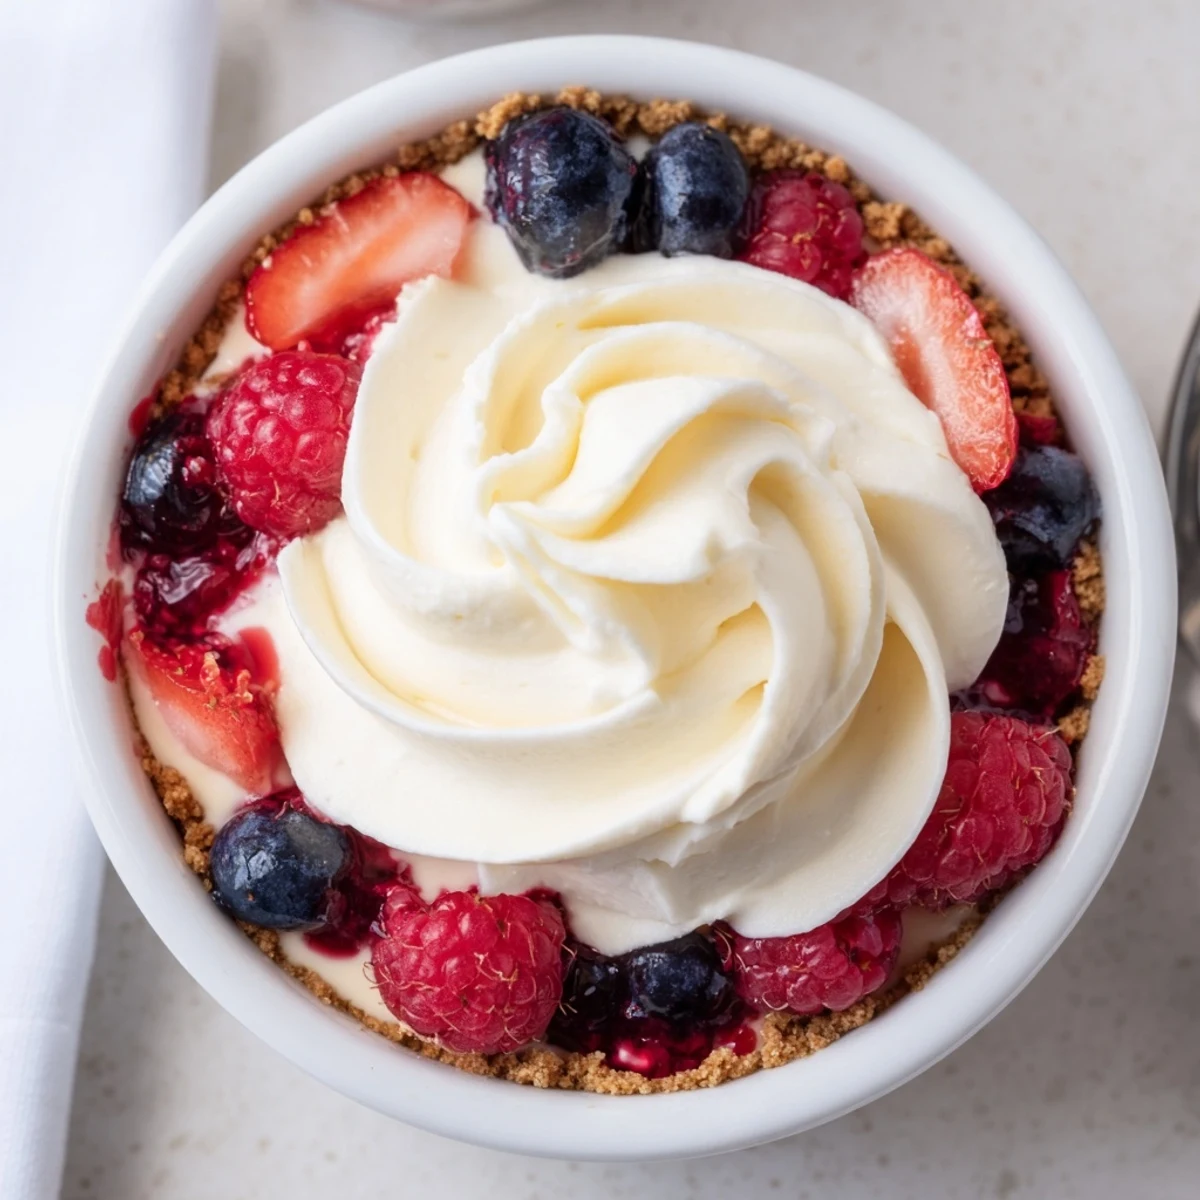
Save These no-bake berry cheesecakes layer a crunchy biscuit base with a silky cream cheese filling and a juicy mixed-berry topping. Crush biscuits with melted butter, whip cold cream to stiff peaks and fold into softened cream cheese sweetened with powdered sugar and vanilla. Spoon into glasses, top with macerated berries, then chill for at least 3 hours to set and develop flavor.
The scent of fresh berries and tangy cheese always seems to spark a hint of excitement in my kitchen, especially when the weather turns warm. One lazy afternoon, I found myself juggling hungry friends and a warm apartment in desperate need of dessert—anything but the oven. These Berry No Bake Cheesecakes came together with a splash of lemon zest and a little bit of laughter over who would lick the bowl clean. Every spoonful feels like a mini celebration, no matter the season.
I remember serving these cheesecakes the night my neighbor dropped in unexpectedly with her twins in tow. We sat around the table, everyone with their little glass jar, improvising toppings with leftover berries and giggling at the sticky hands. It struck me how a little creative assembling and a handful of ingredients could capture a whole table’s attention so completely. That spontaneous dessert night turned into a sweet tradition that we still keep.
Ingredients
- Graham crackers or digestive biscuits: Their honeyed crunch forms the essential base—crushing them by hand leaves just the right rustic texture.
- Unsalted butter: Soft and mellow, it binds the crumbs without overpowering the biscuits’ flavor, but melt it gently to avoid greasy spots.
- Cream cheese: The creamy backbone of the filling—you want it at room temp for an effortlessly smooth whip.
- Heavy cream: Use it straight from the fridge; its cool, thick richness lifts the whole cheesecake layer into a silky cloud.
- Powdered sugar: Blends instantly for a filling that’s sweet yet never grainy.
- Vanilla extract: A dash deepens the flavor—don’t skimp on quality for this small but essential detail.
- Lemon zest (optional): Just a sprinkle adds brightness, but skip if you prefer pure creaminess.
- Mixed fresh berries: Choose whichever berries are plumpest and brightest; a mix keeps every bite interesting.
- Sugar: Just enough to coax out the juices of the fruit for a naturally glossy compote.
- Lemon juice: Wakes up the fruity topping, balancing sweet with tart.
Instructions
- Make the base:
- Combine the crushed biscuits with melted butter in a bowl, mixing until sandy and even—listen for the faint crackle as you stir. Press this mixture gently into the bottoms of your six serving glasses, leveling it with the back of a spoon.
- Whip up the filling:
- In a large bowl, beat cream cheese until it is pillowy and smooth. Sprinkle in powdered sugar, vanilla, and lemon zest if using, then mix until creamy; in another bowl, whip cold heavy cream to stiff peaks, fold it softly into the cream cheese blend so you do not lose the airiness, and then spoon or pipe the filling onto each biscuit base.
- Prepare the berries:
- Toss your chosen berries with sugar and lemon juice, letting them sit to macerate while you taste one or two. The colors become vibrant and juices glossy—they are ready when they glisten.
- Layer and chill:
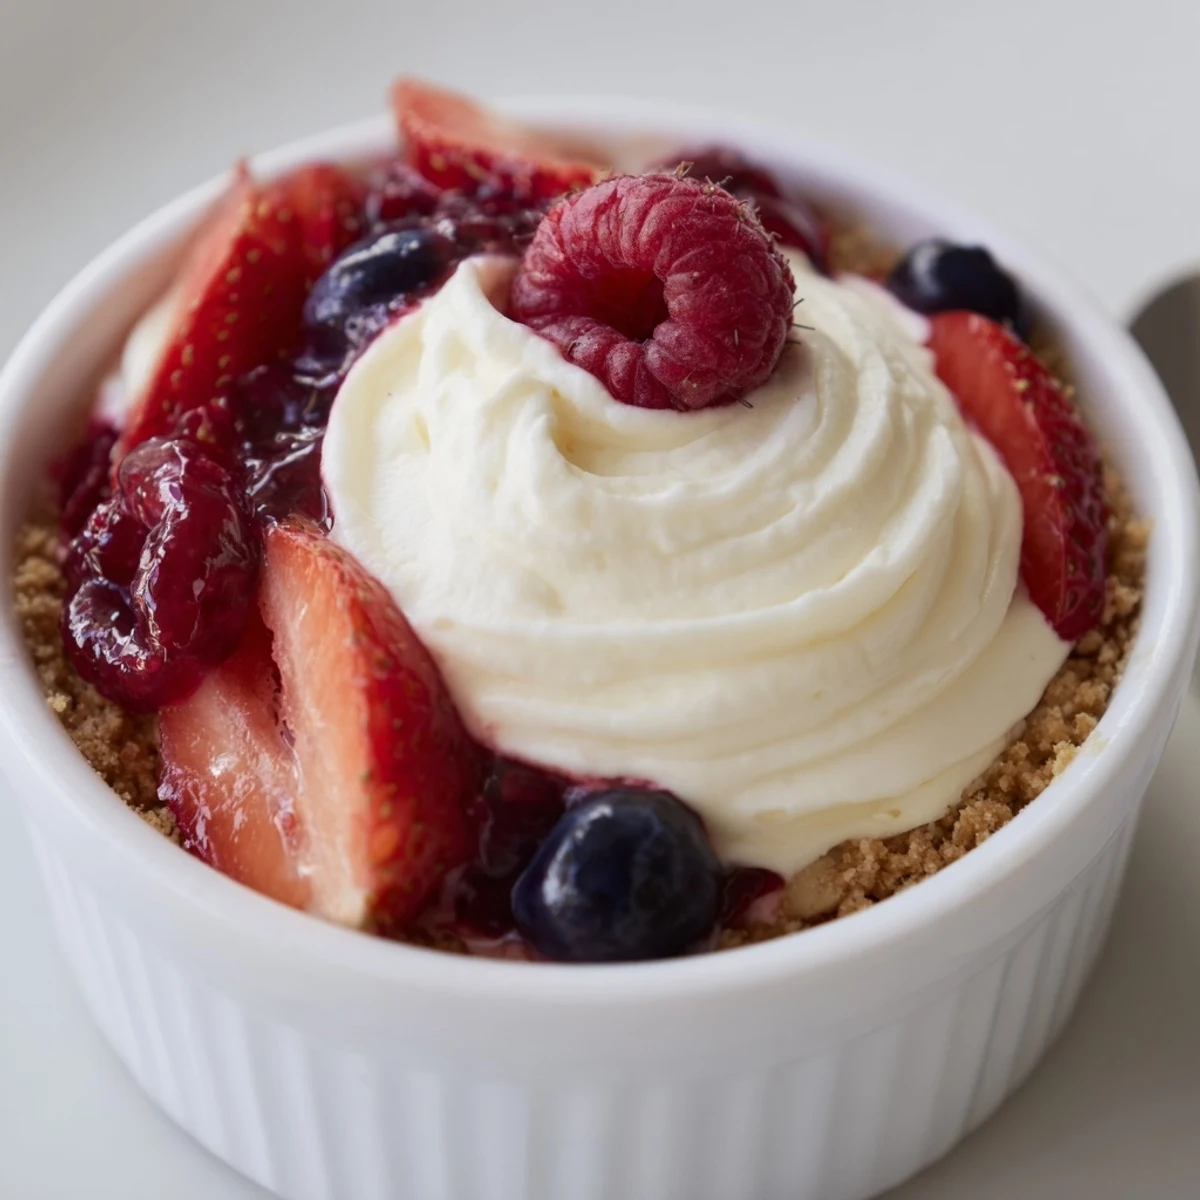
- Spoon the juicy berry topping over each cheesecake, letting a little syrup drip down the sides for drama. Chill everything for at least three hours so the flavors mingle and the texture sets just right.
- Serve:
- Once cold, hand out the glasses and enjoy the moments of appreciation—they look as pretty as they taste.
 Save
Save The night these cheesecakes made it into my mental recipe hall of fame was a summer BBQ, when the bugs were buzzing and laughter rose over the clink of glasses. I served them in mason jars by lantern light, and people actually cheered when they realized there was no baking involved. Little did they know how easy their new favorite dessert was to pull off. Ever since, there is never an empty jar by the end of the night.
When to Prep in Advance
These cheesecakes are made for stress–free prep on busy days, and chilling them overnight is actually the secret to the creamiest texture. I have learned they taste even brighter the next day—perfect when you want dessert ready before your guests ring the bell.
Berry Swaps and Seasonal Tips
If raspberries are in season, I pile them high, but frozen berries thawed in sugar work fine for winter cravings. The trick is using what is fresh, or even adding a splash of berry liqueur for a grown–up twist that I accidentally discovered one Saturday lunch.
Assembly: Messy or Meticulous
I have tried both piping perfect layers with a ziplock bag and just spooning in the filling while singing along to music—either way, they taste just as dreamy. The drippy bits of berry juice down the inside of the jar always end up being everyone's favorite bites.
- Room temperature cream cheese makes your mixing life a breeze.
- Press the biscuit layer gently so it holds but does not become tough.
- Let your berry topping cool before layering to avoid runny fillings.
 Save
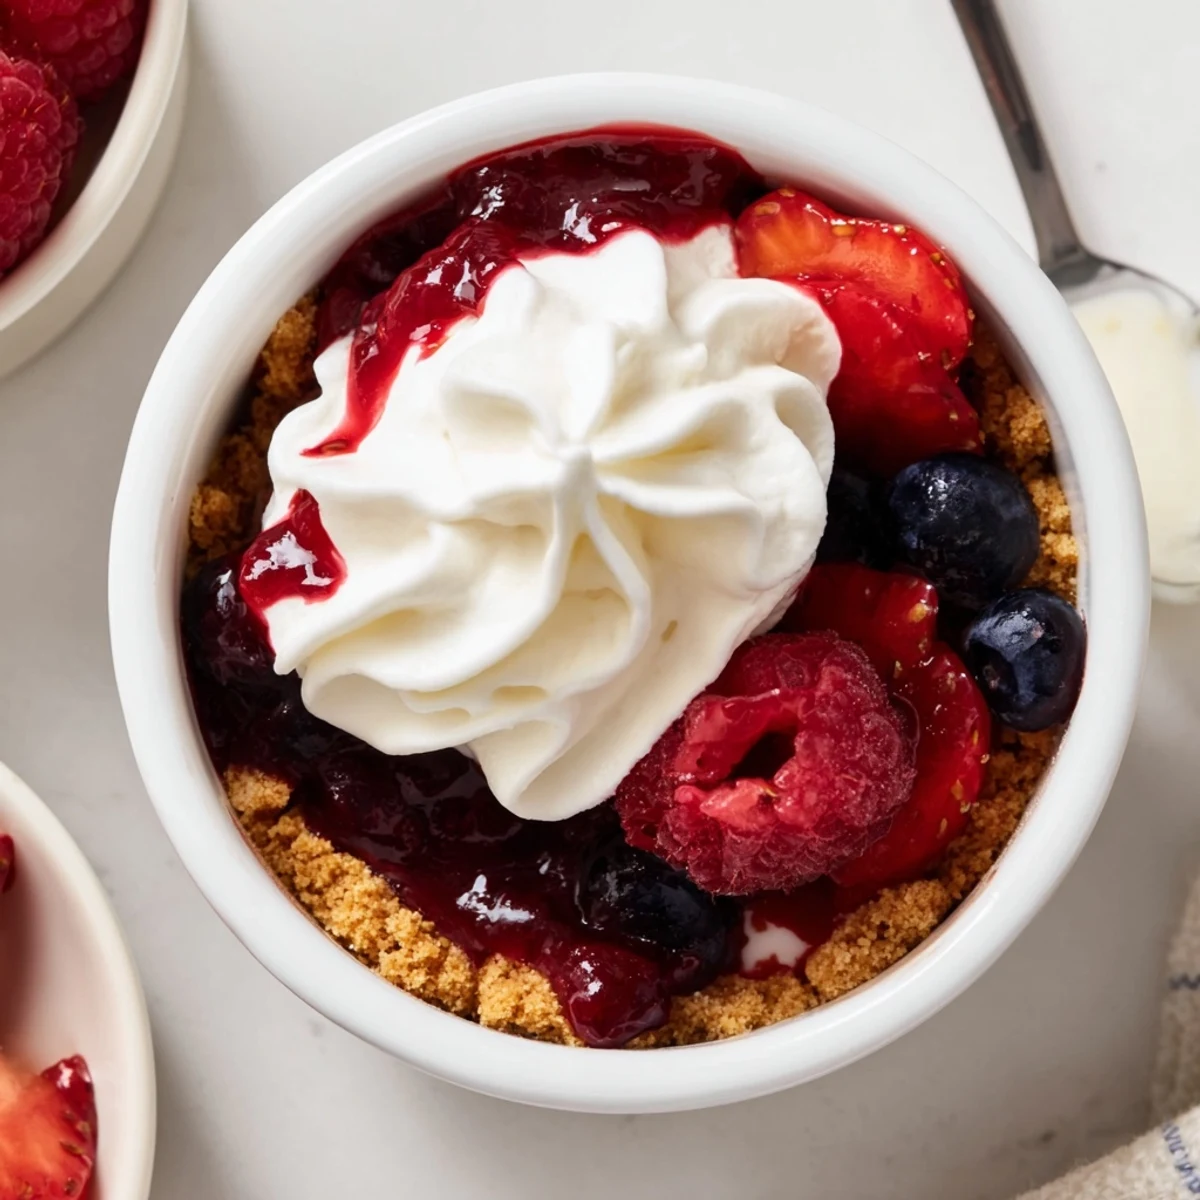
Save There is something quietly joyful about digging a spoon through creamy cheesecake, tangy berries, and buttery crumbs—all with no baking fuss. Hope these little jars become a weeknight or weekend staple in your kitchen too.
Recipe FAQs
- → How long should I chill the cheesecakes?
-
Chill for a minimum of 3 hours to allow the filling to firm up; overnight yields a firmer texture and more integrated flavors.
- → How do I get perfect stiff peaks from the cream?
-
Use very cold heavy cream and a chilled bowl. Start whisking at medium speed, then increase to high until the cream holds firm peaks without becoming grainy.
- → What can I use instead of graham crackers?
-
Digestive biscuits, shortbread, or crushed spiced cookies work well; for gluten-free, choose certified GF crackers or toasted nuts mixed with a little butter.
- → How can I prevent a watery berry topping?
-
Macerate berries briefly with sugar and lemon juice, then drain excess juices or simmer into a thicker compote for a less runny topping.
- → Can these be made ahead and stored?
-
Yes. Assemble and chill overnight for best results. Store covered in the fridge for up to 2–3 days; texture may change if frozen and thawed.
- → How can I boost the flavor of the filling?
-
Add lemon zest, a splash of vanilla, or fold in a spoonful of mascarpone for extra richness; a dash of berry liqueur in the topping deepens the fruit character.