 Save
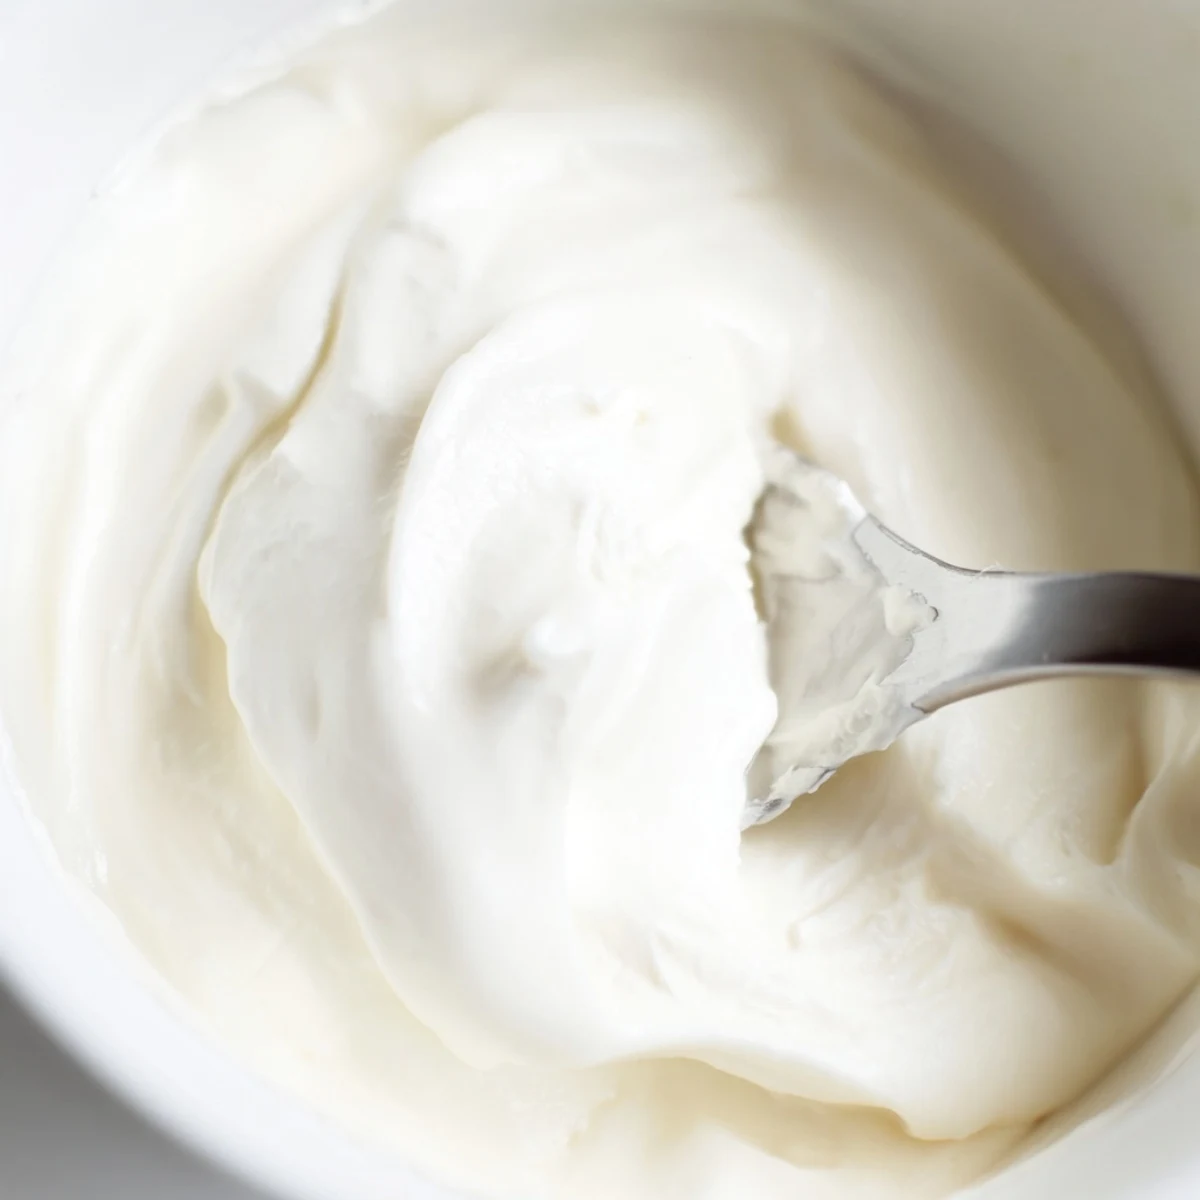
Save Craft your own velvety Greek yogurt at home with minimal effort and simple ingredients. Heat milk to 180°F, cool to 110°F, then introduce live cultures and let ferment undisturbed for 6-8 hours. The secret behind that signature thick texture lies in patient straining through cheesecloth, resulting in protein-rich creaminess perfect for any meal.
This hands-off method yields four cups of versatile dairy staple ideal for breakfast parfaits, savory dips, or healthy dessert bases. Customize with honey, fresh fruit, or herbs while knowing exactly what goes into your food.
My first attempt at homemade yogurt happened during a particularly snowy February when the grocery delivery never showed. Desperation led to a jar of milk and a lonely tablespoon of store bought yogurt sitting in my fridge. Eight hours later, I lifted the towel and found something that actually resembled yogurt. That accidental success started a kitchen obsession I have not shaken since.
Last summer, my youngest niece helped me make a batch during her visit. She kept checking the thermometer like it was a science experiment, asking every twenty minutes if the bacteria were doing their job. When we served the finished yogurt with local honey and peaches for breakfast the next morning, she told everyone she had grown it herself. The pride on her face was worth every minute of waiting.
Ingredients
- Whole milk: The higher fat content creates that luxurious velvety texture you expect from Greek yogurt, though you can experiment with lower fat if preferred.
- Plain yogurt with live cultures: This is your starter, the magic that transforms milk into yogurt through the work of beneficial bacteria.
Instructions
- Heat the milk properly:
- Warm your milk in a saucepan over medium heat until it reaches 82 degrees Celsius, stirring gently now and then to prevent a scorched bottom.
- Let it cool down:
- Remove the milk from heat and wait until the temperature drops to 43 degrees Celsius, this might take a bit of patience.
- Prepare your starter:
- Whisk a few tablespoons of the cooled milk with your plain yogurt starter until completely smooth.
- Combine everything:
- Pour the starter mixture back into the cooled milk and stir gently to incorporate evenly throughout.
- Start the fermentation:
- Transfer the milk to a clean container, cover it, and wrap it in a towel to maintain warmth or use a yogurt maker.
- Let it culture:
- Leave the mixture undisturbed in a warm spot for 6 to 8 hours until it has set into yogurt.
- Strain for thickness:
- Line a strainer with cheesecloth, place it over a bowl, pour in the yogurt, and refrigerate for 1 to 2 hours until thickened.
- Store and enjoy:
- Transfer your Greek yogurt to a clean container and refrigerate until you are ready to serve.
 Save
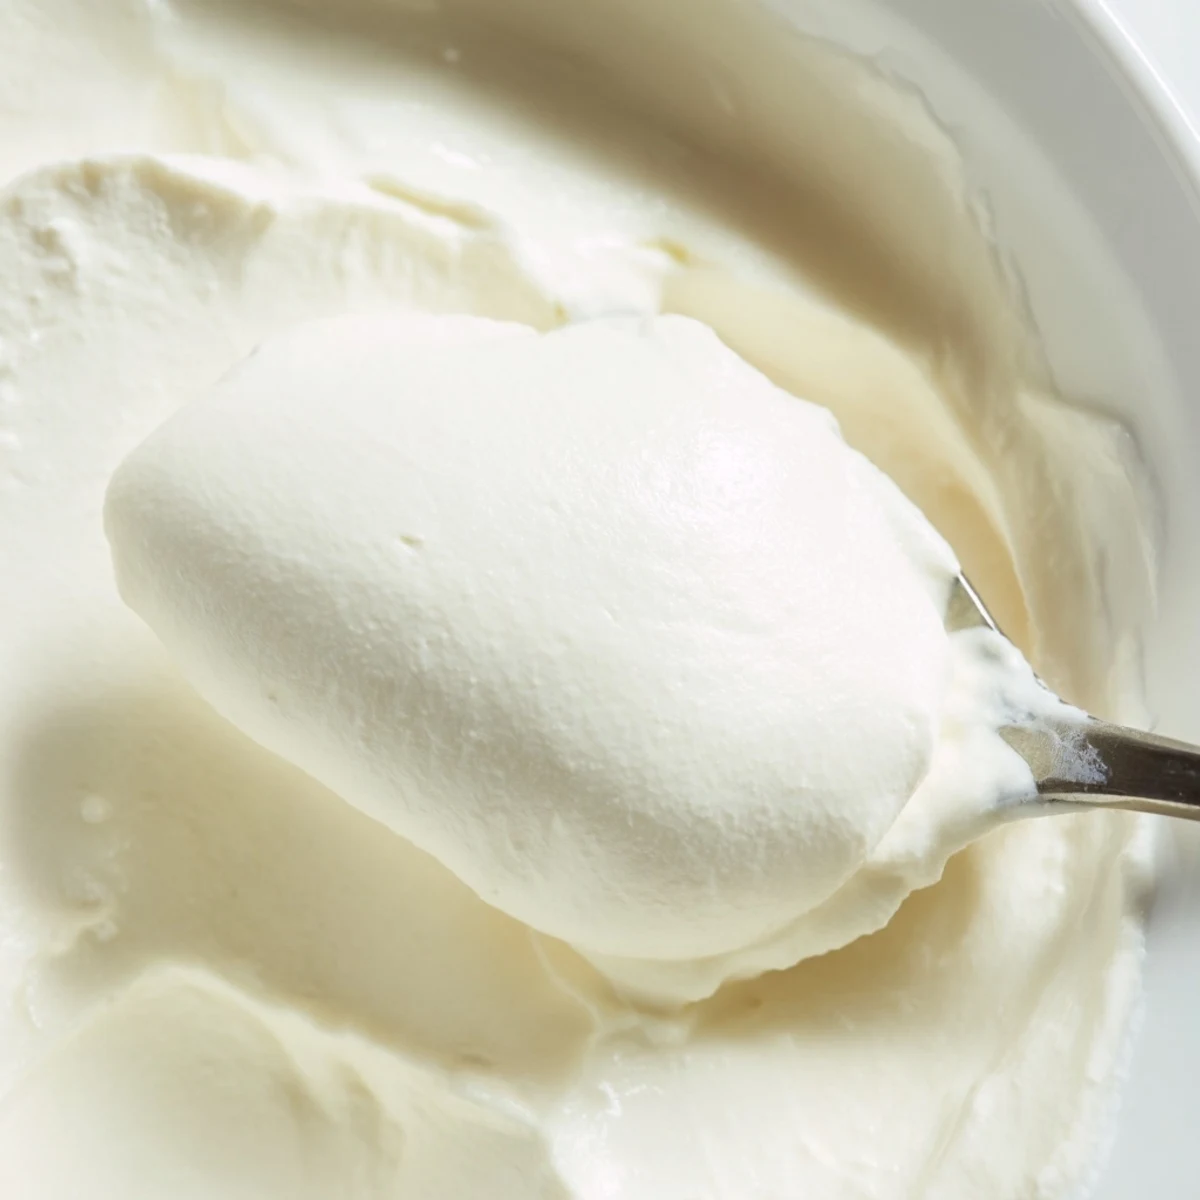
Save Friends who claim they cannot cook have become evangelical about this recipe after trying it at my house. Something about transforming plain milk into something so luxurious feels like genuine kitchen magic. It has become my go to host gift, arriving in mason jars with handwritten notes about the process.
Choosing Your Milk
While whole milk delivers the creamiest results, I have made wonderful batches with 2 percent milk when that is what I had on hand. Goat and sheep milk create lovely variations with slightly tangier notes that work beautifully in savory applications. The key is avoiding ultra pasteurized milk, which does not set well because the protein structure has been altered during processing.
Temperature Matters
I learned the hard way that a thermometer is not optional here. Your fingertips simply cannot detect the precise temperature differences between killing your cultures and activating them. An instant read thermometer eliminates the guesswork and ensures consistent results every single time.
Using the Whey
That liquid whey draining into your bowl during straining is packed with protein and beneficial bacteria. I pour mine into smoothies, use it to soak oatmeal overnight, or substitute it for water in bread recipes. Nothing needs to go to waste when you understand how to incorporate every part of the process.
- Try using a coffee filter in a pinch if you do not have cheesecloth for straining.
- Save a few tablespoons of each batch as starter for your next round of homemade yogurt.
- Experiment with different fermentation times, longer culturing creates a more tangy flavor profile.
 Save
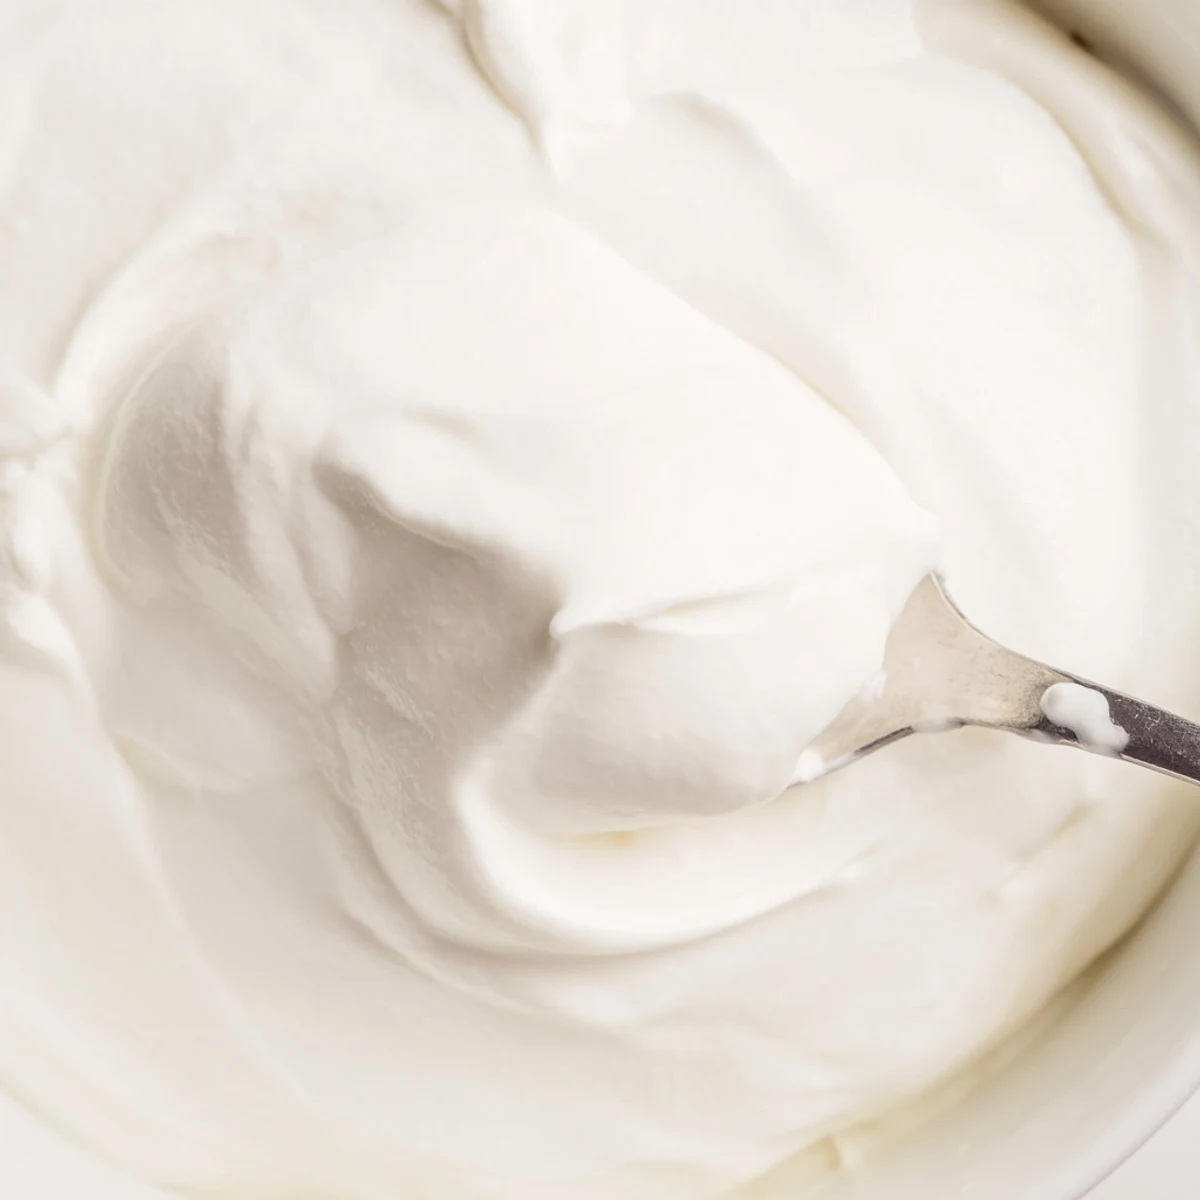
Save There is something deeply satisfying about making foods most people only ever buy at the store. Once you taste the difference, you might find yourself clearing space in your schedule for regular yogurt making sessions.
Recipe FAQs
- → What makes Greek yogurt different from regular yogurt?
-
Greek yogurt undergoes straining to remove whey, creating a thicker, creamier texture with higher protein concentration. This process yields approximately half the volume of traditional yogurt while concentrating nutrients and tangy flavor.
- → Can I use low-fat milk instead of whole milk?
-
While possible, whole milk produces superior texture and richness. Low-fat versions yield thinner consistency requiring longer straining time. For best results with reduced fat milk, consider adding powdered milk to improve body and creaminess.
- → How long does homemade Greek yogurt last?
-
Properly stored in airtight containers, homemade Greek yogurt stays fresh for 1-2 weeks refrigerated. Always use clean utensils when scooping to prevent contamination. The presence of live cultures naturally helps preserve the product.
- → What can I do with the strained whey?
-
The liquid whey contains beneficial proteins and probiotics. Use it in smoothies, baking bread, as a marinade base, or even for fermenting vegetables. It adds subtle tanginess and nutritional value to various preparations.
- → Do I need a yogurt maker to make Greek yogurt?
-
No special equipment is required. While yogurt makers provide consistent temperature, any warm spot works perfectly. An oven with just the light on, a wrapped bowl in a sunny location, or even a slow cooker on warm setting can maintain proper culturing conditions.