 Save
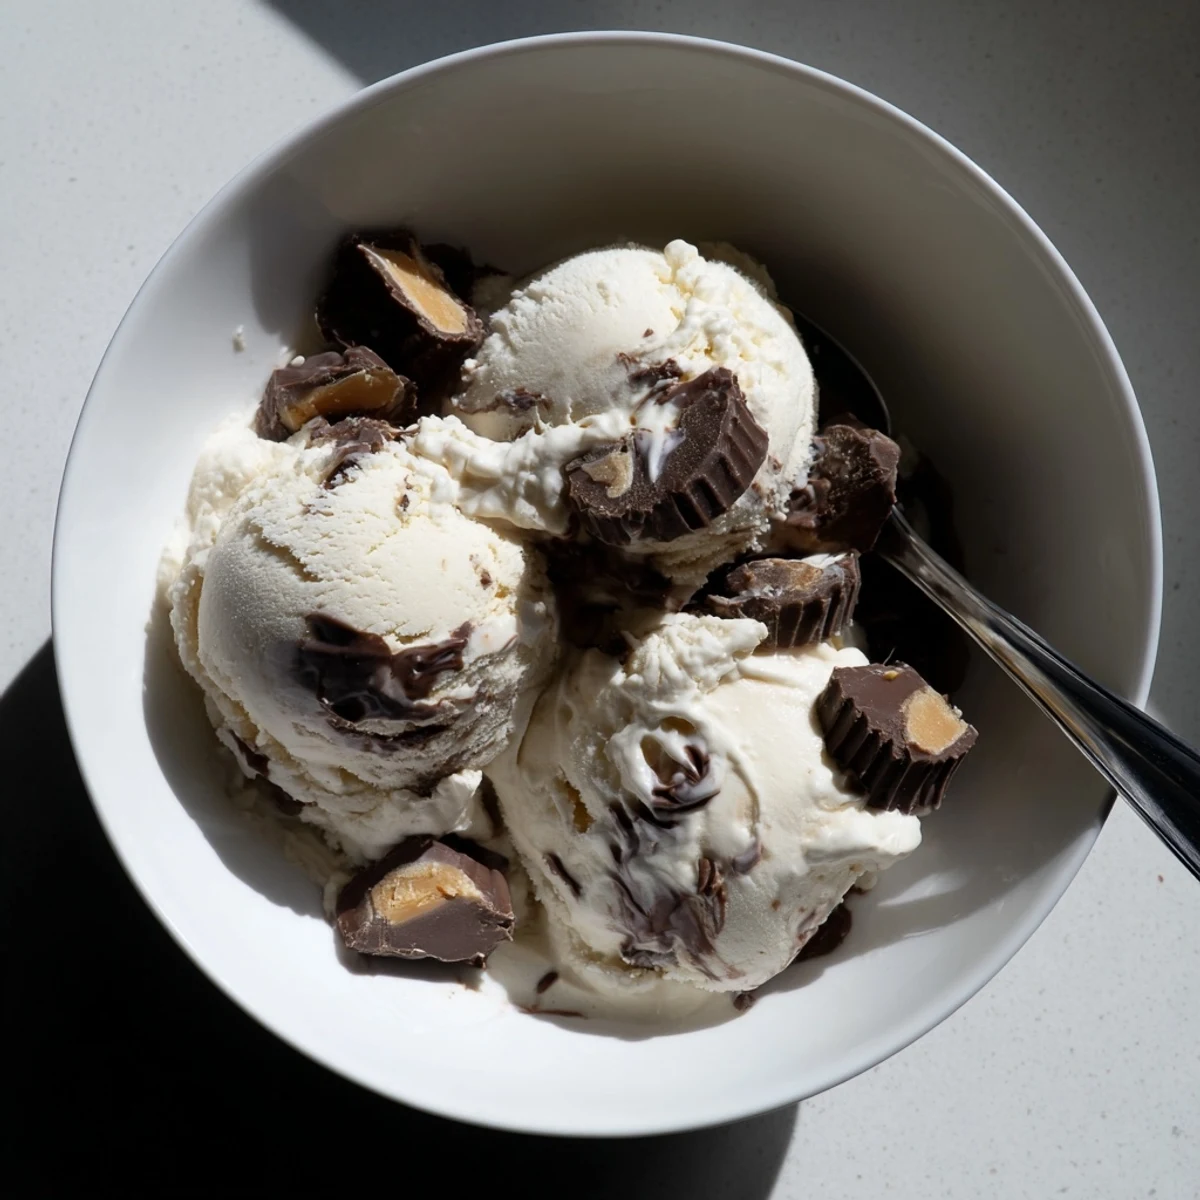
Save Create this indulgent frozen dessert at home with a rich vanilla custard base churned to creamy perfection. The process involves making a simple ice cream base from heavy cream, whole milk, and pure vanilla extract, then churning until thick and smooth. While churning, prepare a glossy fudge sauce by melting semisweet chocolate with cream, butter, and corn syrup until silky smooth.
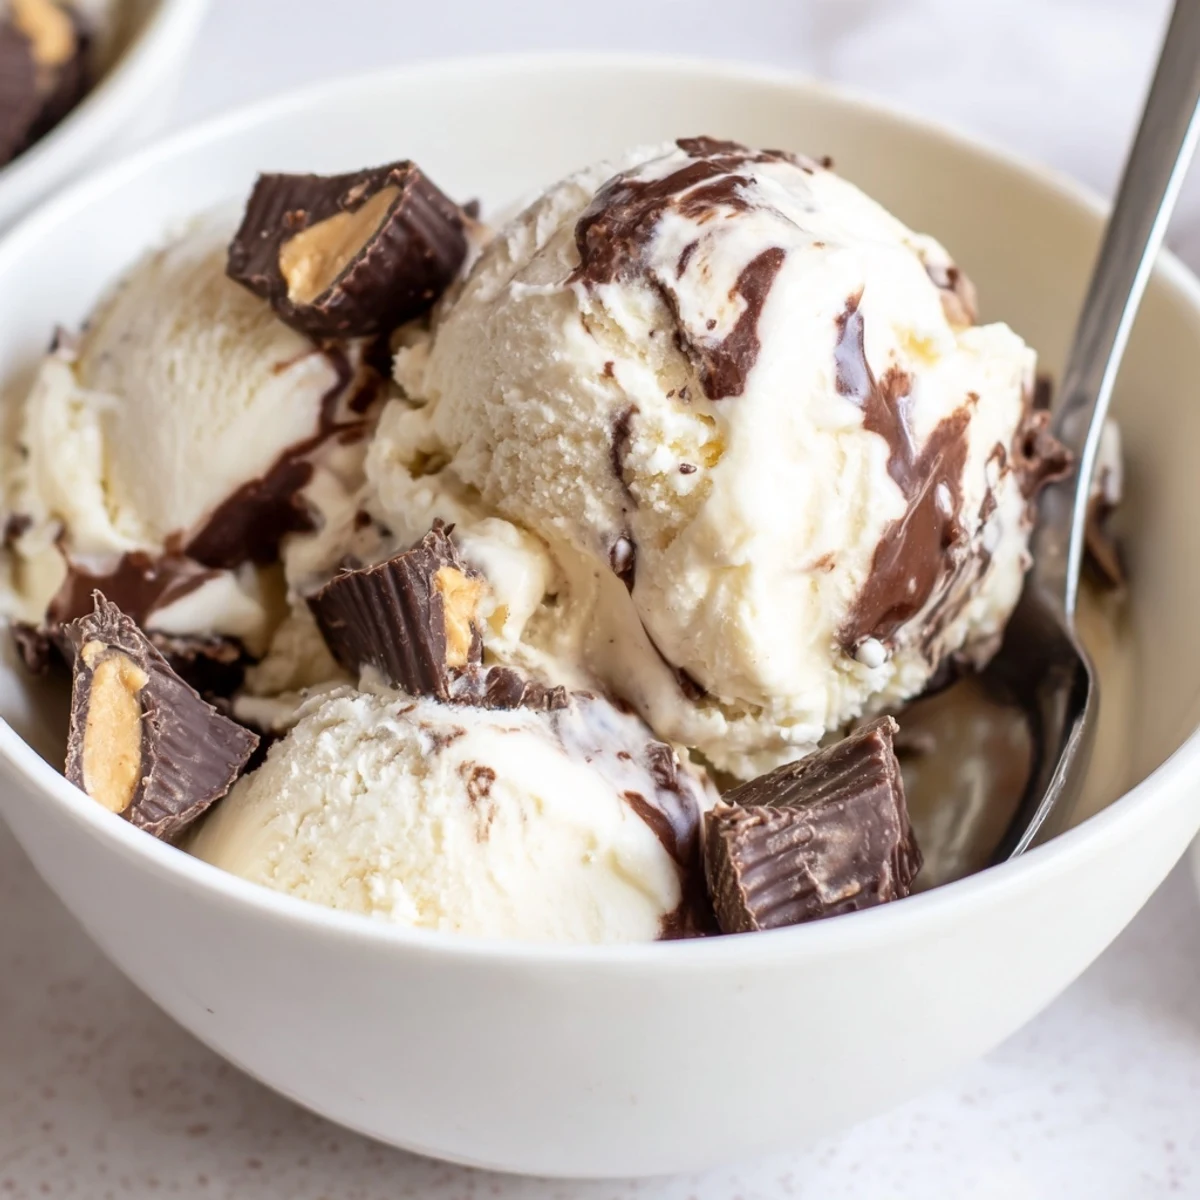
Layer the freshly churned ice cream with generous ribbons of warm fudge sauce and halved chocolate peanut butter cups. Use a knife to create beautiful marbled swirls throughout the frozen mixture. After freezing for at least six hours, you'll scoop into a decadent treat featuring creamy vanilla pockets intertwined with gooey chocolate fudge and crunchy peanut butter cup pieces.
This American-style dessert delivers restaurant-quality results with straightforward techniques. The combination of textures—velvety ice cream, ribbon-like fudge, and candy pieces—creates an irresistible frozen experience. Customize by swapping dark chocolate into the fudge or using chocolate caramel candies for nut-free variations.
The best ice cream I ever made happened completely by accident one rainy Sunday afternoon. I had planned a dinner party and forgotten dessert, so I threw together whatever I had in the pantry. My friends still talk about that batch, and honestly, nothing beats the moment when you pull homemade ice cream from the freezer and it is actually better than you remembered.
Last summer I made this for my nephew who was visiting from college. He took one bite and literally stopped conversation mid sentence to announce that this was what heaven must taste like. There is something deeply satisfying about watching people experience homemade ice cream for the first time, especially when they realize it is actually something they can make themselves.
Ingredients
- Heavy cream: This creates the rich base that makes homemade ice cream so incredibly luxurious
- Whole milk: Lightens the cream just enough while maintaining that silky texture we all crave
- Granulated sugar: Dissolves beautifully into the cold dairy base for consistent sweetness throughout
- Salt: A tiny pinch transforms vanilla from plain to positively radiant
- Vanilla extract: Use the good stuff here because you can absolutely taste the difference
- Semisweet chocolate chips: Melt into the most perfect fudge sauce that stays ribbon soft even frozen
- Unsalted butter: Adds depth and helps the fudge sauce achieve that glossy finish
- Light corn syrup: Prevents the fudge from becoming too hard in the freezer
- Mini chocolate peanut butter cups: The ultimate mix in that gets even better when slightly frozen
Instructions
- Mix the base:
- Whisk everything together until the sugar completely disappears into the cream
- Churn it up:
- Let your machine work its magic until you have something that looks like soft serve from your favorite shop
- Make the fudge:
- Melt everything low and slow while stirring constantly until you have something glossy and gorgeous
- Add the cups:
- Fold in those chocolate peanut butter gems right at the end so they stay intact
- Layer it up:
- Spoon ice cream and drizzle fudge in alternating layers then take a knife through it once for those signature swirls
- Freeze firm:
- Patience is the hardest part here but waiting at least six hours makes all the difference
 Save
Save This recipe became my go to summer bring along after I made it for a neighborhood potluck and three people asked for the recipe before dinner was even served. Something about homemade ice cream makes people feel like you put genuine thought and effort into making them happy.
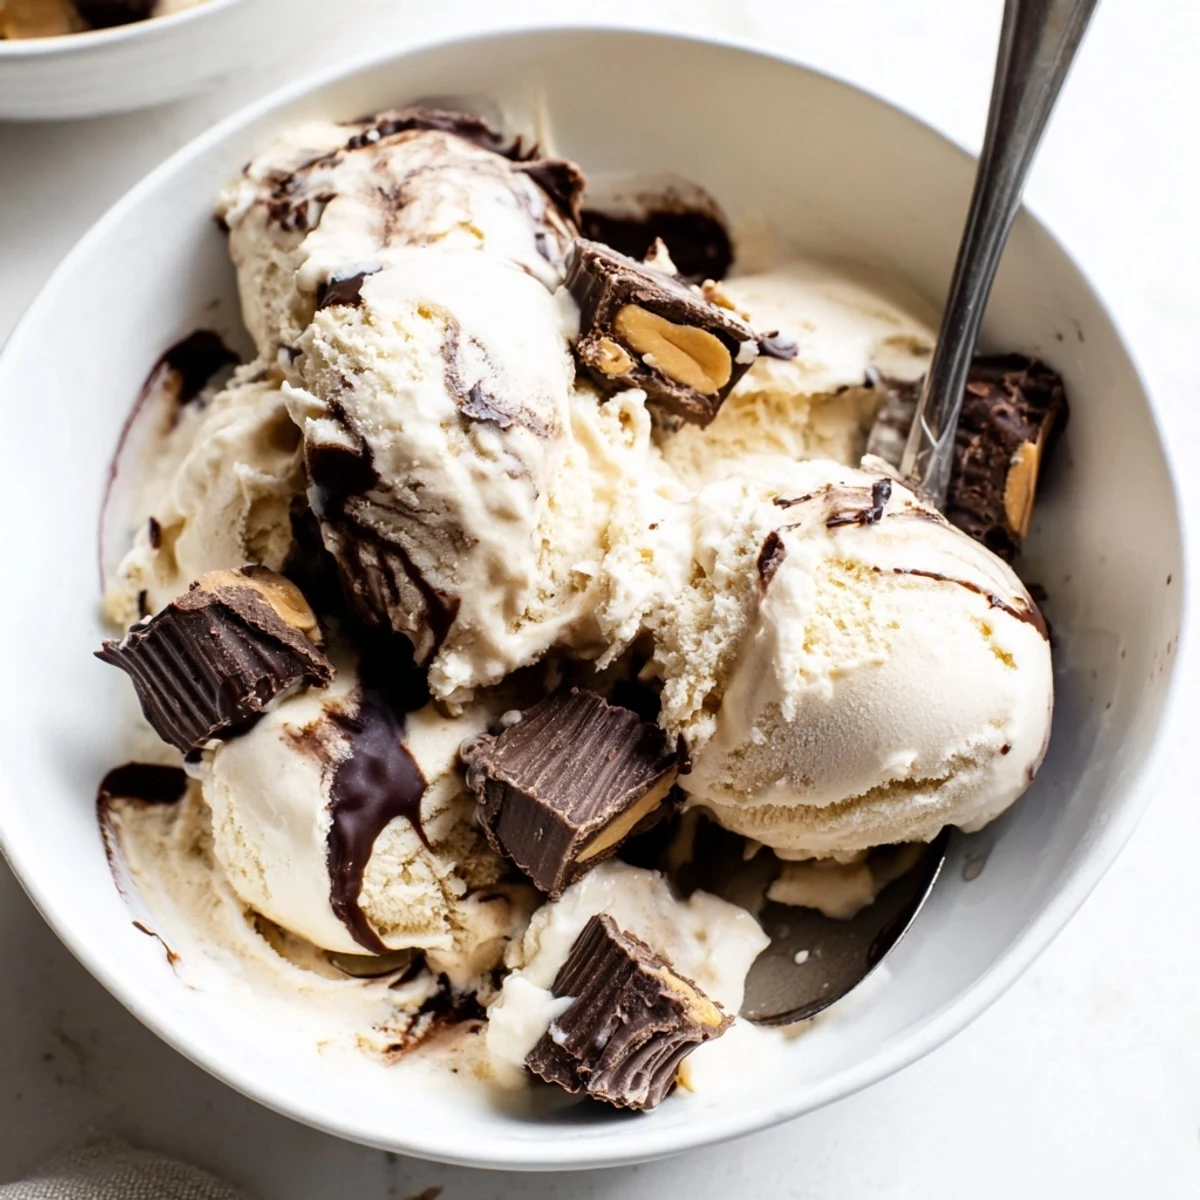
Getting The Perfect Swirl
The secret to those beautiful fudge ribbons is working quickly while the ice cream is still soft from the machine. I learned this the hard way after one batch turned into chocolate ice cream with a distinct fudge layer on top. Now I do my layering immediately and give it just one gentle pass with a knife.
Make It Your Own
Once you master the base, the variations are endless. I have swapped peanut butter cups for chopped peanut butter cups, added crushed pretzels for salted caramel vibes, and even stirred in brownie pieces for a chocolate overload situation.
Serving Suggestions
While this ice cream is absolutely perfect on its own, I love serving it in homemade waffle cones or alongside warm chocolate chip cookies. The temperature contrast is something special. My husband insists the only way to eat it is piled into a giant bowl with extra fudge sauce on top.
- Let the ice cream sit on the counter for five minutes before scooping for the best texture
- Warm your scooper under hot water between servings for those picture perfect rounds
- Store a piece of parchment paper directly on the surface to prevent freezer burn
 Save
Save There is honestly nothing quite like pulling a container of homemade ice cream from the freezer and knowing you made something extraordinary. Every batch brings a little joy.
Recipe FAQs
- → Do I need an ice cream maker for this?
-
An ice cream maker produces the best texture by churning air into the base while freezing. Without one, you can pour the mixture into a shallow pan and stir every 30 minutes for 3-4 hours, though the texture will be denser and less creamy than the churned version.
- → How long does it need to freeze before serving?
-
The layered mixture requires at least 6 hours in the freezer to firm completely. For the firmest texture and easiest scooping, let it freeze overnight. This allows the fudge ribbons to set properly and the flavors to meld together.
- → Can I make this without peanut butter cups?
-
Absolutely. Substitute chopped peanut butter cups with chocolate caramel candies, chopped chocolate-covered pretzels, crushed brownie pieces, or toasted pecans. The mix-ins should be sturdy enough to hold their texture when frozen but complement the fudge swirls.
- → Why is my fudge sauce hardening in the ice cream?
-
If the fudge sauce is too hot when layered, it can seize or form hard streaks. Let it cool to room temperature—warm but not hot—before drizzling. The sauce should be pourable but not piping hot for the smoothest marble effect.
- → How should I store leftovers?
-
Keep the frozen dessert in an airtight container with parchment paper pressed against the surface to prevent ice crystals. It maintains optimal texture for 2-3 weeks. For longer storage, cover the container tightly with plastic wrap beneath the lid.
- → Can I reduce the sugar in this recipe?
-
Sugar plays a crucial role in texture by lowering the freezing point for a smoother consistency. Reducing sugar below the specified amount may result in icy, hard crystals. For lighter alternatives, consider using a natural sweetener like maple syrup or honey, though this alters the flavor profile.