 Save
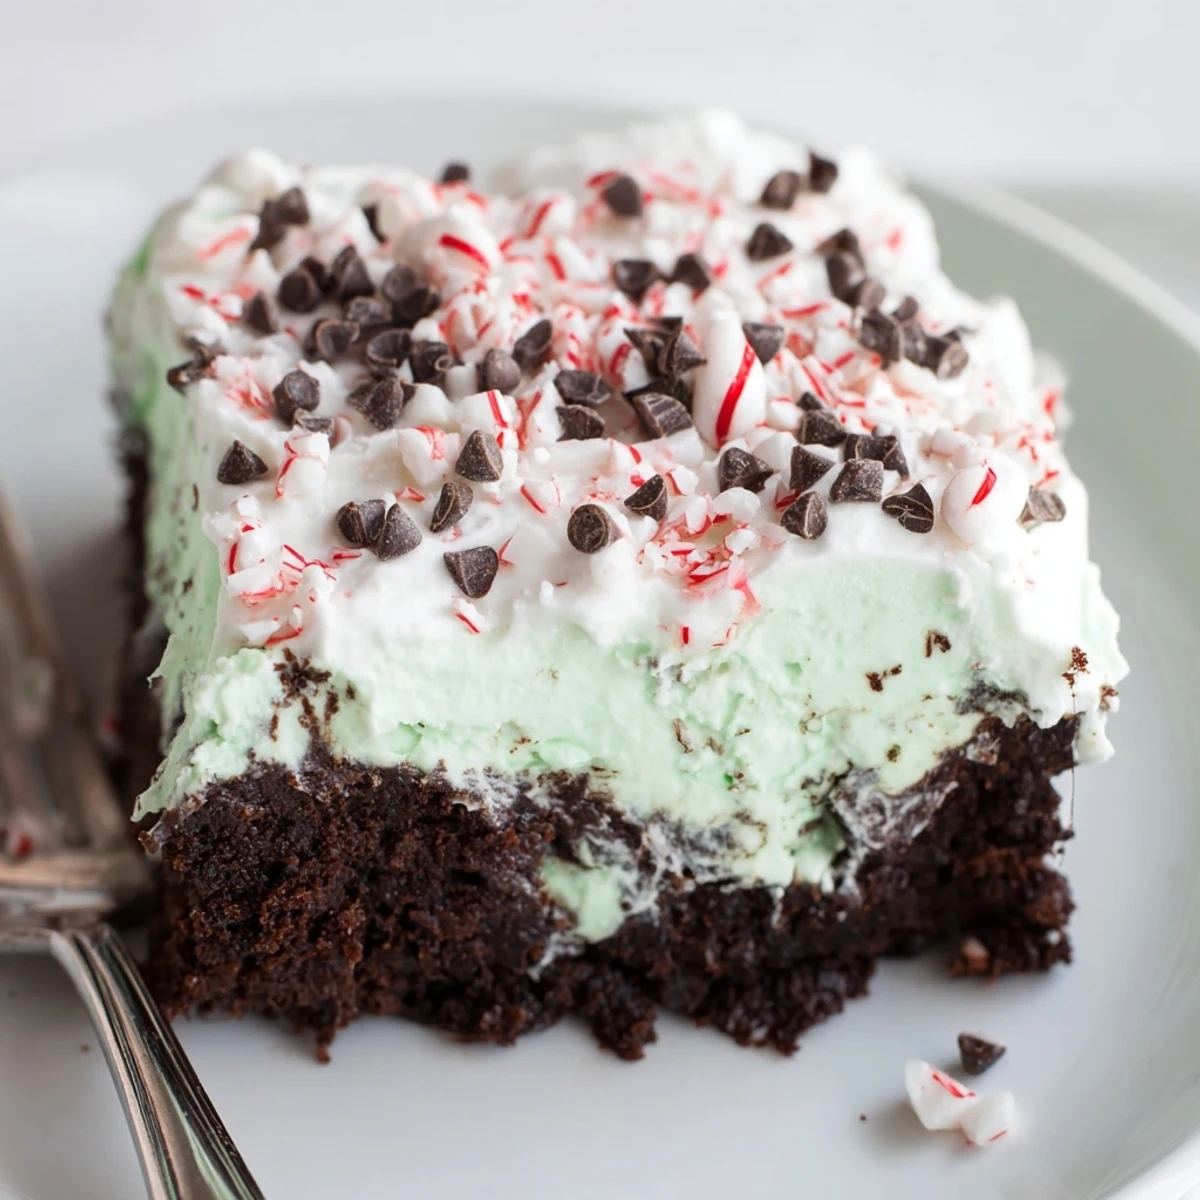
Save Combine a boxed chocolate cake batter, bake until set, then cool briefly and poke evenly across the surface. Whisk instant vanilla pudding with milk and peppermint extract, pour into the holes and refrigerate until firm. Spread thawed whipped topping, sprinkle crushed peppermint and optional chocolate shavings. Total hands-on time is about 25 minutes with roughly 1 hour chilling; serves 12. Adjust extract for stronger mint.
One winter afternoon, the sharp scent of peppermint drifted through my kitchen as I unwrapped candy canes for this cake. There was something about the combination of chocolate and mint that just felt like pure celebration. With laughter in the background and a gentle hum of the oven, it quickly became impossible not to sample a few candy shards along the way. The colors and flavors were instantly festive, and my counters sparkled with a dusting of crushed peppermint.
Last year before friends came over for our holiday movie night, I made this cake just to have something sweet on hand. When the first forkfuls were met with wide eyes and muffled, happy murmurs, I realized it had captured a bit of nostalgia and new tradition all in one dish. There was a sparkling crunch in every bite, followed by someone inevitable asking for just another small square. We were all huddled on the sofa, plates balanced on knees, crumbs everywhere.
Ingredients
- Chocolate cake mix: I usually choose a moist variety so the cake holds up to the pudding without falling apart—don’t skip greasing the pan so the slices come out clean.
- Eggs: Room temperature eggs seem to blend in more smoothly, so I let them sit on the counter while prepping other ingredients.
- Water: Mixing with water instead of milk in the cake batter keeps it light and prevents it from getting too dense.
- Vegetable oil: Use a neutral oil; I once tried olive oil and it changed the flavor more than expected.
- Instant vanilla pudding mix: The trick is to whisk until thick but not set so it pours nicely into the cake holes.
- Cold milk: Cold milk helps the pudding thicken quickly, so have it ready before mixing.
- Peppermint extract: Start with less—you can always add more, but too much can turn the cake toothpastey.
- Red or pink food coloring (optional): It gives the filling a playful swirl; even a tiny drop goes a long way.
- Frozen whipped topping, thawed: Make sure it’s fully thawed to prevent tearing up the pudding when spreading it on.
- Crushed peppermint candies or candy canes: I double-bag them and crush with a rolling pin for that fine, sparkly sprinkle.
- Chocolate shavings or mini chocolate chips (optional): A quick shave from a chocolate bar looks elegant and adds a rich finish.
Instructions
- Get things ready:
- Preheat your oven to 350F (175C) and grease a 9x13-inch pan, letting the anticipation build as you measure ingredients.
- Stir up the cake:
- In a big bowl, combine cake mix, eggs, water, and oil; beat until smooth while the scent of chocolate promises deliciousness to come.
- Bake to perfection:
- Pour batter into the pan, smoothing the top, and slide it into the oven for 28–32 minutes; the kitchen will soon fill with deep cocoa aromas.
- Give it a breather:
- Let the cake cool for 10–15 minutes—just enough to touch without burning your fingers.
- Open up the cake:
- Using the handle of a wooden spoon, carefully poke holes all over to create tiny pockets for the peppermint pudding; this part is oddly satisfying.
- Whip the pudding:
- Quickly whisk instant pudding mix, milk, peppermint extract, and food coloring in a bowl until just thickened and cloudlike.
- Peppermint magic:
- Pour and gently spread the pudding over the cake, nudging it into every hole so none are forgotten.
- Chill out:
- Cover the cake and chill for at least an hour so the flavors meld and the pudding sets.
- Frost and sparkle:
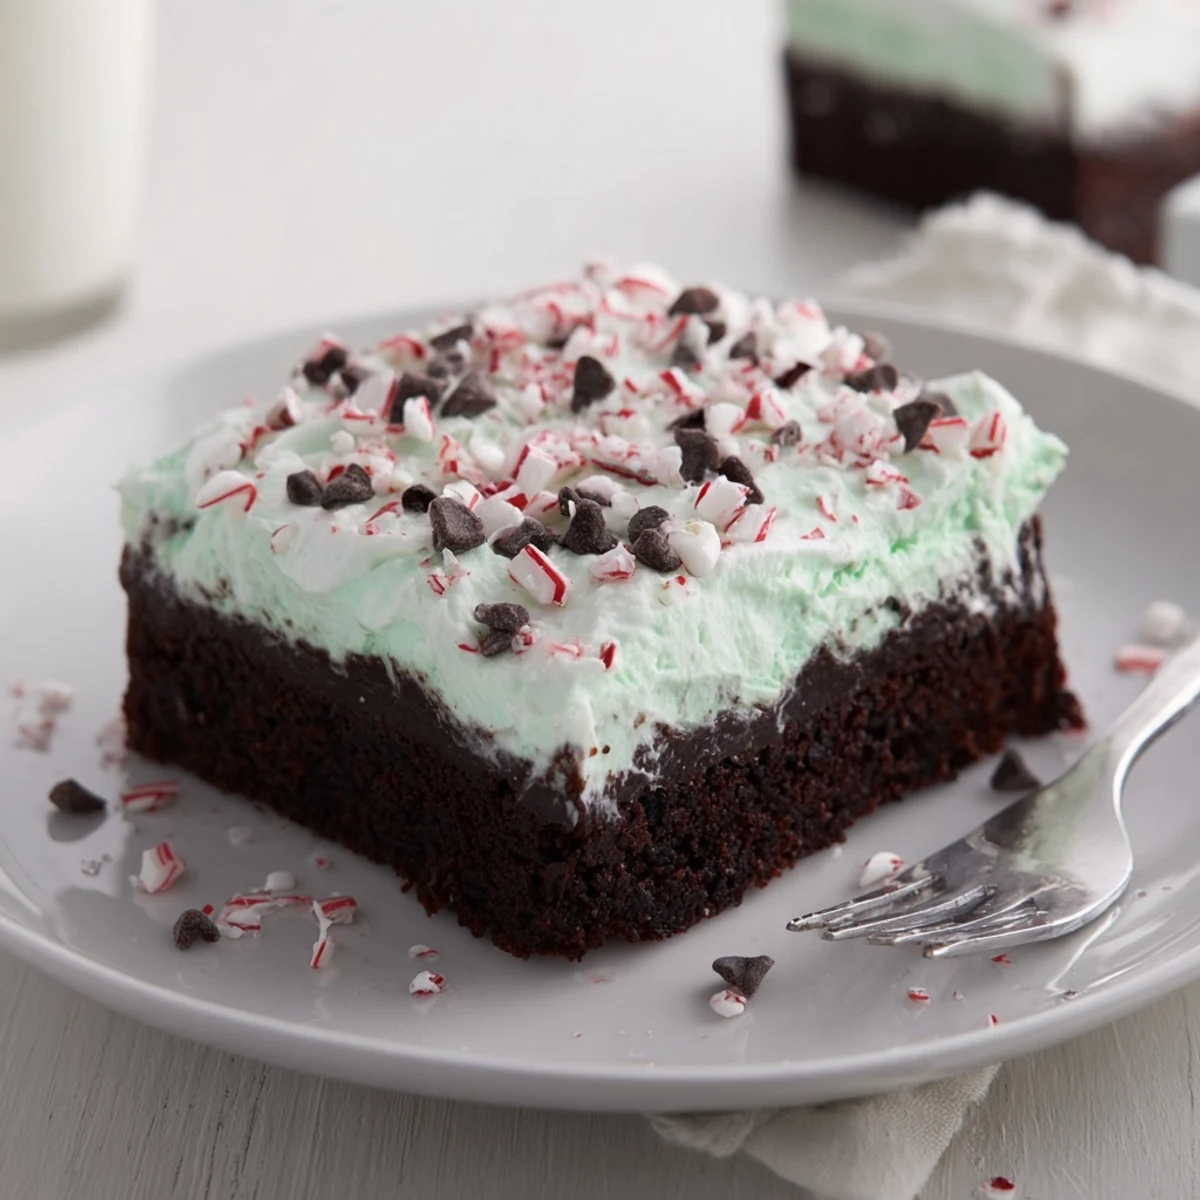
- Spread whipped topping over the chilled cake, swooping and swirling for pillowy peaks, then shower generously with crushed peppermint and chocolate shavings if you’d like.
- Slice and serve:
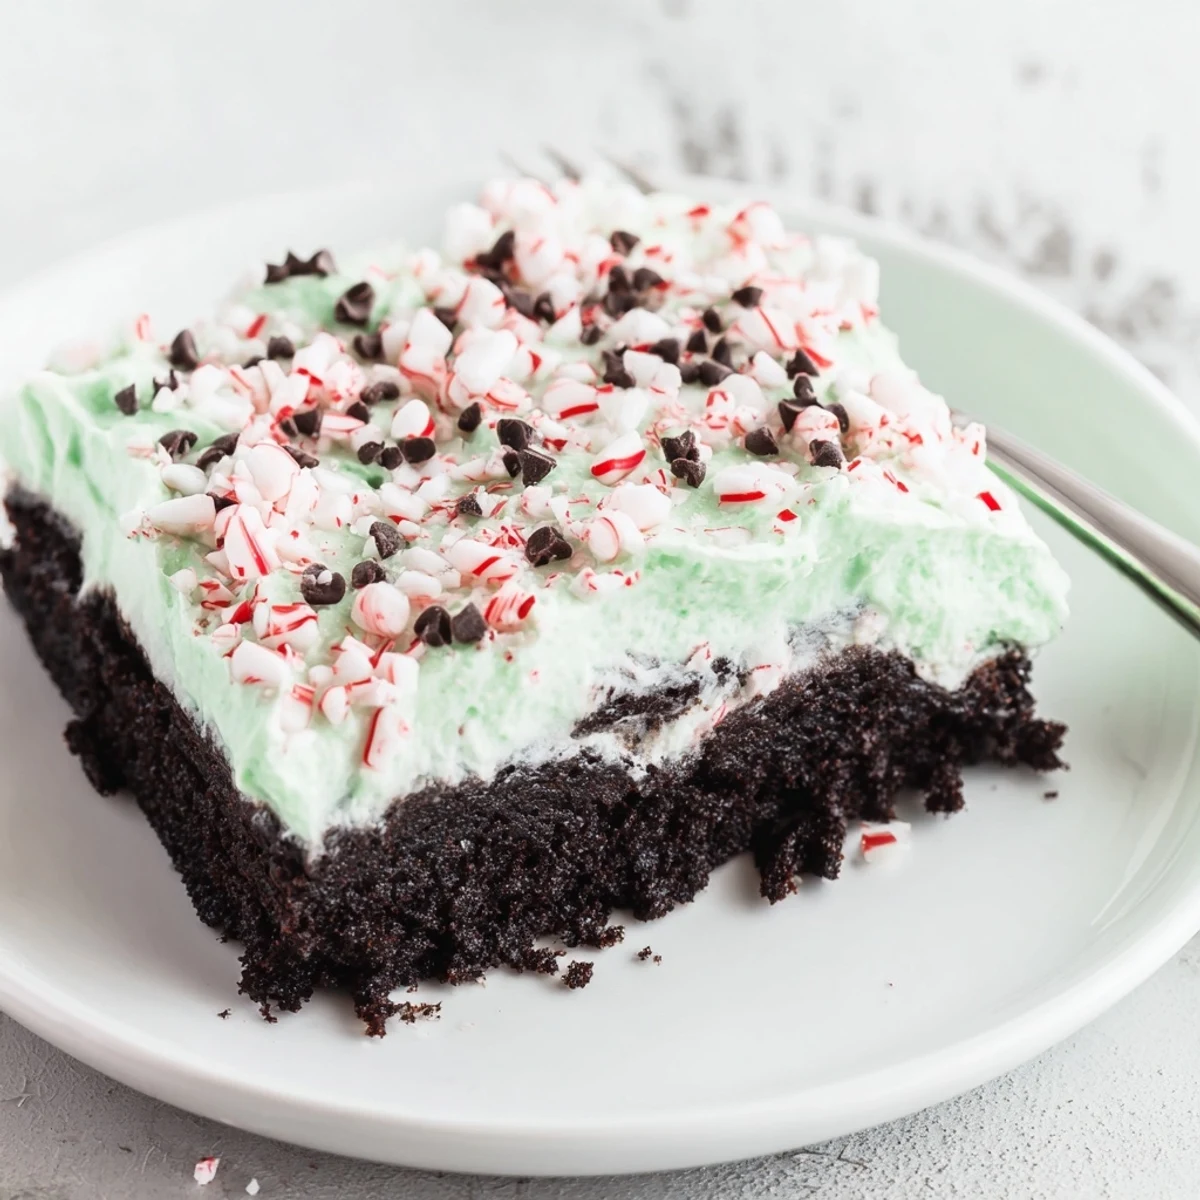
- Cut into squares and serve cold; each slice shows off ribbons of peppermint, and you'll hear the quiet crackle of candy with every forkful.
 Save
Save The first time we brought this to our neighborhood cookie swap, people kept asking for the recipe instead of just swapping cookies. That simple request—‘do you have the recipe for that minty cake?’—made me realize how a playful dessert can spark conversation and maybe even a tiny bit of dessert envy.
Making It Ahead for Stress-Free Entertaining
This cake is ideal for preparing in advance, since the rest in the fridge not only enhances the flavor but gives you time to actually enjoy your guests. Just hold off on the peppermint candies until right before serving so they stay delightfully crisp. It’s the dessert I turn to whenever I want something homemade but hands-off the day-of. Leftovers have never lasted long in my fridge, but they do hold up beautifully for two days.
Playing With Flavors and Add-Ins
Sometimes I swap chocolate cake for red velvet, or layer on a hint of espresso powder for an extra grown-up twist. A few mini chocolate chips or chocolate curls on top deepen the chocolate-mint vibe and look so inviting. I once let kids decorate the top with extra candies, and their wild, kaleidoscope patterns turned out to be the hit of the party. The flexibility means you can adjust it to fit any occasion or whim.
Secrets to Perfect Poke Cake Texture
Poking holes about an inch apart with a wooden spoon handle prevents gooey, dense patches and lets the pudding soak in for a luscious bite every time. Using instant pudding is key—a cooked pudding can get rubbery, so trust the shortcut here. If you notice the cake dome in the middle, just gently press it down to create an even canvas for toppings.
- Let your cake cool just enough before poking so it keeps its shape.
- Spread whipped topping gently for those beautiful, even swirls.
- Add the peppermint and chocolate toppings just before serving to keep them fresh and pretty.
 Save
Save I hope you have as much fun making and sharing this peppermint poke cake as I do—there’s nothing like that first forkful with a burst of cool mint. Serve with a smile, and don’t be surprised when you’re asked for the recipe before the last piece is gone.
Recipe FAQs
- → How long should the cake chill before serving?
-
Chill at least 1 hour so the pudding sets into the holes and the topping firms. For cleaner slices and firmer texture, refrigerate 2 hours.
- → Can I use homemade pudding instead of instant?
-
Yes. Use a thicker cooked vanilla pudding, cool slightly, then stir in peppermint extract before pouring. Ensure the pudding is cool enough to not affect the cake crumb.
- → How can I boost the mint flavor without overdoing it?
-
Add 1/4 teaspoon peppermint extract to the pudding and an optional 1/8–1/4 teaspoon to the cake batter. Taste cautiously—extracts concentrate quickly.
- → What are good substitutions for the boxed mix?
-
Use a from-scratch chocolate cake or swap for white or red velvet for a festive look. Adjust baking time and keep pan size consistent for even cooking.
- → How should leftovers be stored?
-
Keep covered in the refrigerator for up to 48 hours to preserve texture and prevent the whipped topping from drying out. Freeze slices wrapped tightly for longer storage, though topping texture may change.
- → Any tips for decorating and serving?
-
Press crushed candy canes gently into the topping for even coverage, sprinkle chocolate shavings for contrast, and chill briefly before slicing to get neat portions.