 Save
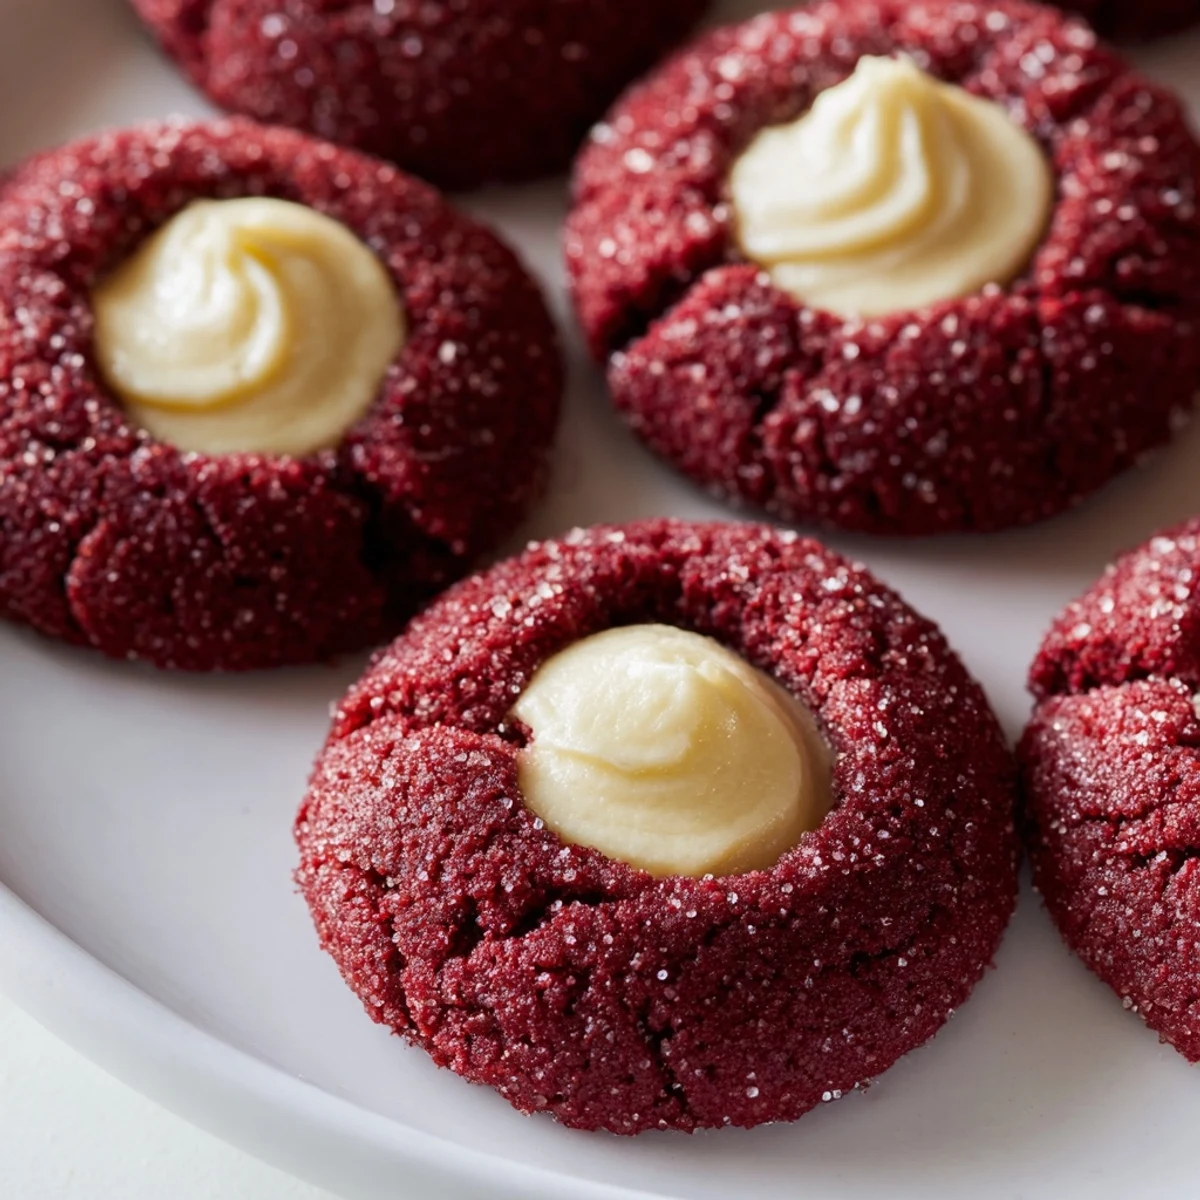
Save These stunning red velvet thumbprint cookies combine the classic cocoa flavor and vibrant color of red velvet with a luscious cream cheese filling. The tender cookie dough features unsweetened cocoa powder and creates the perfect vessel for the sweet, tangy centers.
Each cookie is hand-rolled, gently pressed to create an indentation, then filled with a smooth cream cheese mixture before baking. The result is a beautiful two-bite treat with a soft, cakey exterior and creamy middle.
The preparation comes together quickly—just 20 minutes of active prep before a short 12-minute bake. You'll have two dozen festive cookies that are ideal for holidays, parties, or simply elevating an ordinary afternoon.
The first time I made these, I accidentally used too much red food coloring and my kitchen looked like a crime scene. But those cookies disappeared so fast at the potluck that nobody cared about my stained countertops. Now they are my go-to when I need something that looks impressive but comes together with zero stress.
I remember bringing a batch to my sister's winter wedding shower, and her mother-in-law asked for the recipe three separate times throughout the afternoon. The red velvet color makes them feel special, but the real magic happens when you bite through that soft cookie into the cool, creamy center.
Ingredients
- All-purpose flour: The foundation that gives these cookies their tender structure without becoming tough
- Unsweetened cocoa powder: Deep chocolate flavor that balances the sweetness perfectly
- Baking soda: Just enough lift to create those delightfully soft edges
- Salt: Enhances the chocolate and keeps the flavors from falling flat
- Unsalted butter: Room temperature butter creates the perfect creamy base for your dough
- Granulated sugar: Sweetens and helps create that crinkly, slightly crisp exterior
- Egg yolk: Adds richness and helps create a wonderfully chewy texture
- Whole milk: Just enough moisture to bring everything together smoothly
- Vanilla extract: Rounds out all the flavors and makes everything taste homemade
- Red food coloring: Gives that classic red velvet appearance we all love
- Cream cheese: The star of the filling, adding tangy creaminess that cuts through the sweet cookie
- Powdered sugar: Sweetens the filling without making it grainy
- Vanilla extract: A second dose because the filling deserves its own vanilla moment
Instructions
- Get your oven ready:
- Preheat to 350°F and line your baking sheets with parchment paper so nothing sticks
- Whisk the dry ingredients:
- Combine flour, cocoa, baking soda, and salt in a medium bowl until well blended
- Cream the butter and sugar:
- Beat them together for about 2 minutes until the mixture turns light and fluffy
- Add the wet ingredients:
- Mix in the egg yolk, milk, vanilla, and red food coloring until everything is incorporated
- Combine everything:
- Gradually fold in the dry ingredients just until the dough comes together
- Make the filling:
- Whisk cream cheese, powdered sugar, and vanilla until smooth and set it aside
- Shape the cookies:
- Roll dough into 1-inch balls and place them 2 inches apart on your prepared baking sheets
- Create the thumbprints:
- Gently press your thumb or a teaspoon into the center of each ball to make a well
- Fill the centers:
- Spoon about half a teaspoon of cream cheese filling into each indentation
- Bake to perfection:
- Bake for 11 to 13 minutes until the edges are set but the centers still look slightly soft
- Cool completely:
- Let them rest on the baking sheet for 5 minutes before moving them to a wire rack
 Save
Save These cookies have become my signature contribution to holiday cookie exchanges, and I always get requests for the recipe before the party even ends. Something about that red and cream color combination just makes people happy.
Making Them Ahead
You can prepare the dough and filling separately up to two days in advance, storing them in the refrigerator. Let the dough come to room temperature for about 20 minutes before shaping, otherwise it will crack when you try to make the thumbprints.
Filling Variations
While cream cheese is classic, white chocolate ganache makes an incredible alternative that adds even more richness. Just melt equal parts white chocolate and heavy cream, let it cool slightly, and spoon it into the centers.
Storage Tips
Because of the cream cheese filling, these cookies need to be stored in the refrigerator. They will keep for up to four days, though they rarely last that long in my house. Bring them to room temperature for about 15 minutes before serving for the best texture and flavor.
- Place parchment paper between layers if you stack them
- The centers will firm up slightly when chilled
- These freeze beautifully for up to two months
 Save
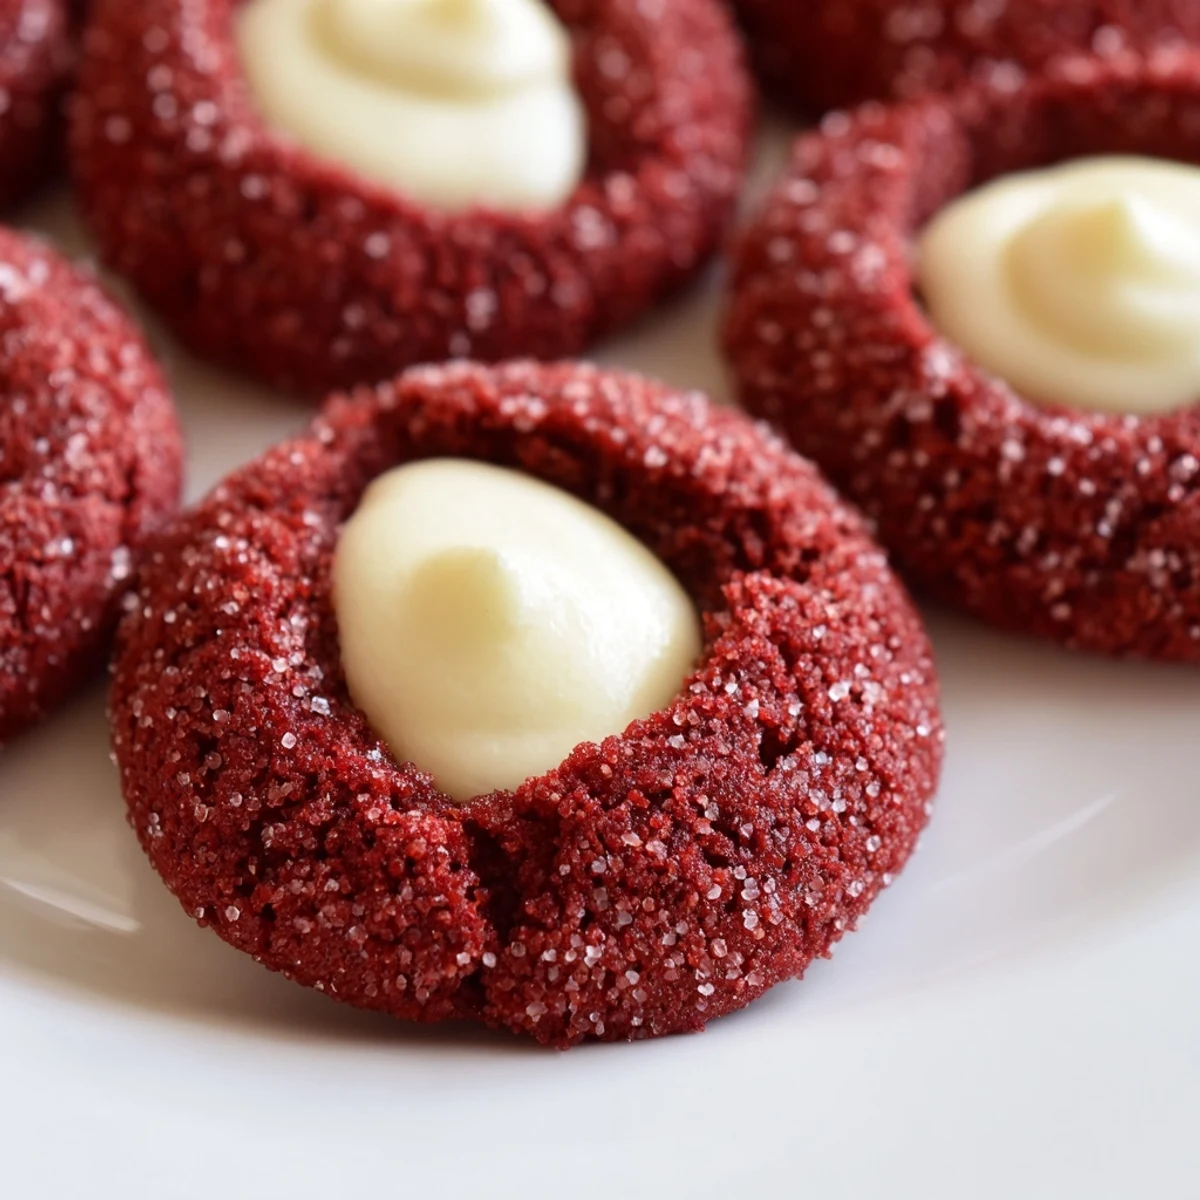
Save There is something undeniably cheerful about a platter of these bright red cookies with their snow-white centers. They have become the treat I turn to when I need a little joy in my kitchen.
Recipe FAQs
- → Can I make the dough ahead of time?
-
Yes, you can prepare the cookie dough up to 2 days in advance. Wrap it tightly in plastic wrap and refrigerate. Let it soften slightly at room temperature for about 15 minutes before rolling into balls, as chilled dough can be too firm to work with easily.
- → What other fillings work well?
-
Beyond cream cheese, try white chocolate ganache, dark chocolate ganache, or even lemon curd for a bright contrast. Nutella, peanut butter, or fruit preserves like raspberry or strawberry also make delicious alternatives that complement the cocoa flavor.
- → Why did my indentation disappear during baking?
-
This can happen if the dough is too warm or if the indentation isn't deep enough. For best results, chill the formed dough balls for 10-15 minutes before pressing the centers. Also, press firmly to create a deep well, then re-press gently immediately after baking while the cookies are still warm.
- → How should I store these cookies?
-
Store in an airtight container in the refrigerator for up to 4 days, as the cream cheese filling requires cool temperatures. For longer storage, freeze unfilled cookies for up to 3 months and add the filling after thawing. Let refrigerated cookies come to room temperature for about 15 minutes before serving.
- → Can I reduce the red food coloring?
-
You can reduce the amount to achieve a softer pink hue, or use natural alternatives like beet juice or pomegranate juice. Keep in mind that natural colorants may produce more muted tones. For the classic vibrant red velvet appearance, the full teaspoon of gel food coloring delivers the most consistent results.