 Save
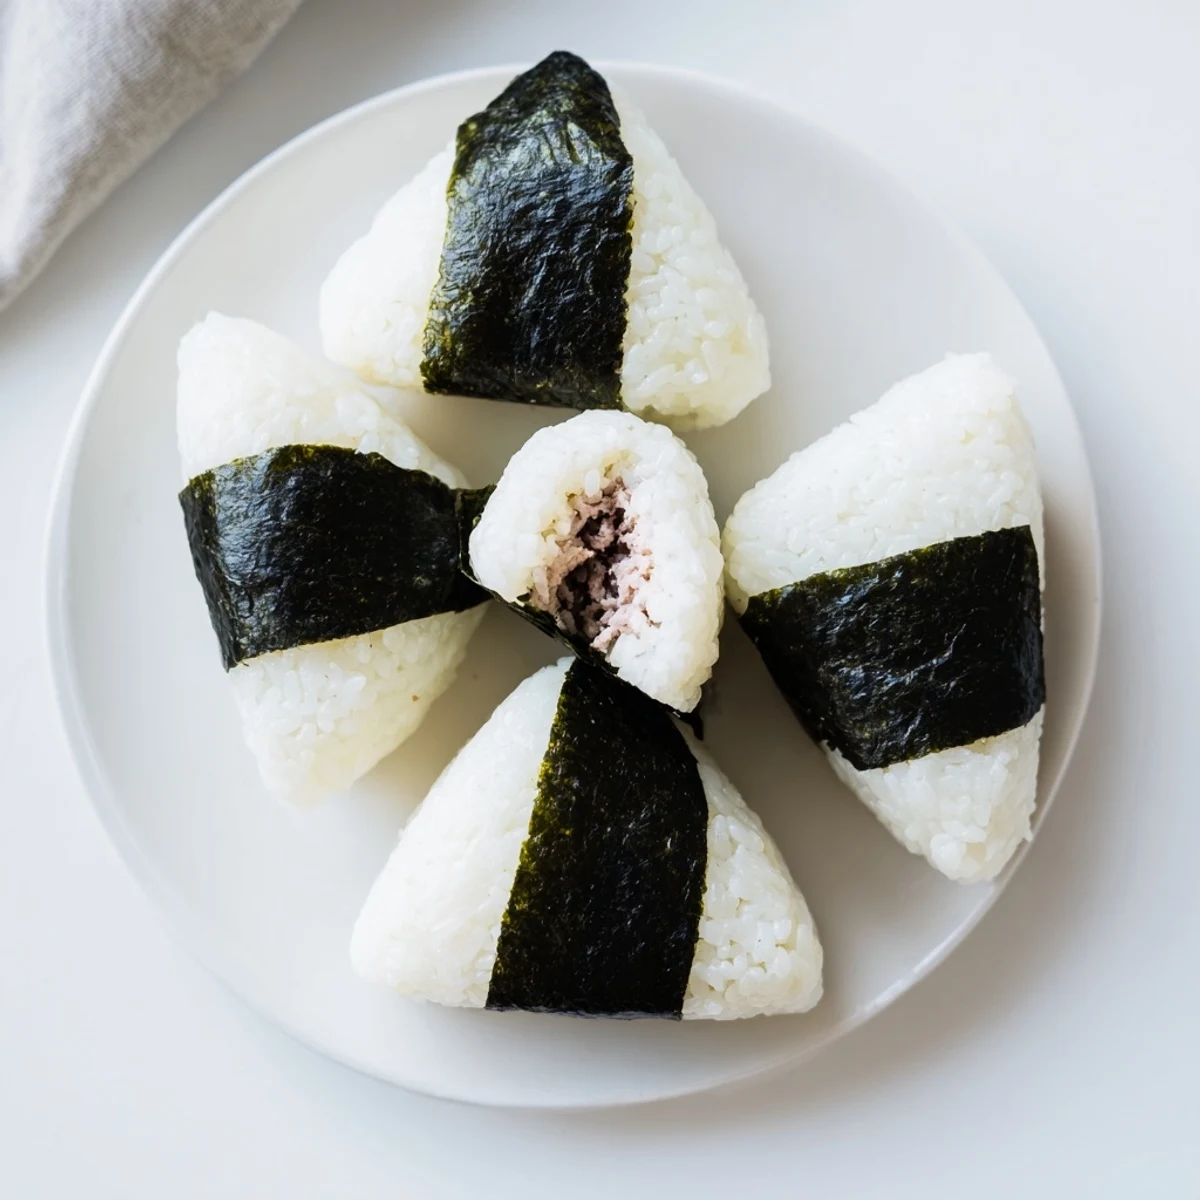
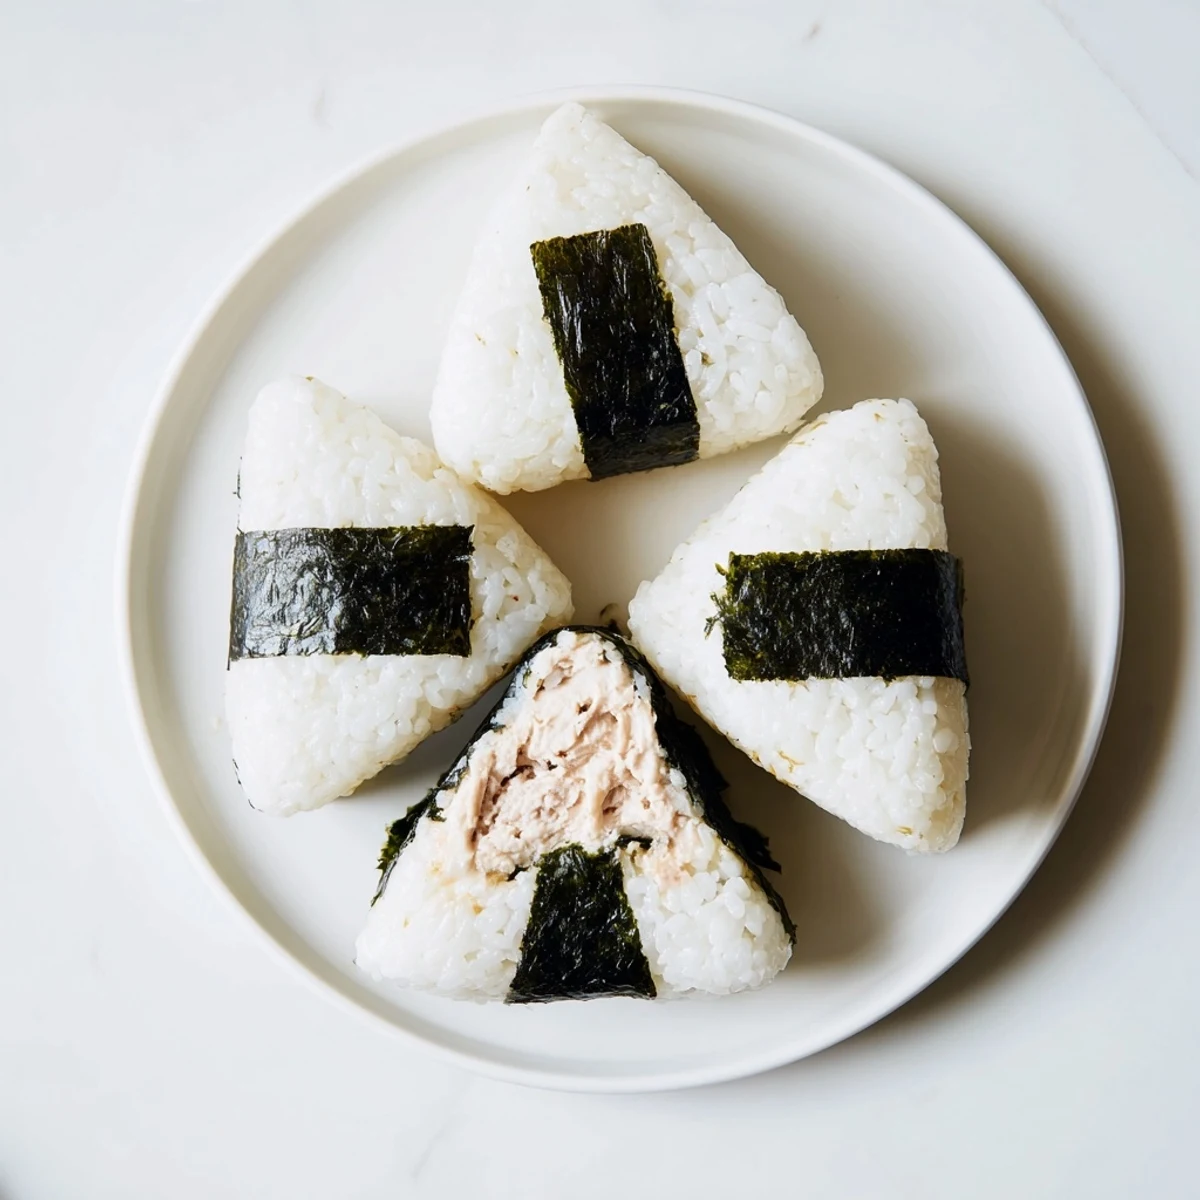
Save Create these beloved Japanese rice balls filled with a savory tuna and mayonnaise mixture. The process starts with perfectly cooked short-grain rice, seasoned and shaped while still warm. Each onigiri encases a generous spoonful of the creamy tuna filling, creating a delicious contrast between the fluffy rice and rich center. Wrapped in nori strips, they offer a satisfying handheld meal that travels beautifully.
The combination yields six portions, each offering balanced nutrition with protein from the tuna and carbohydrates from the rice. Customization is simple—add scallions for freshness or sesame oil for depth. Best enjoyed fresh, these versatile rice balls keep well for 24 hours when properly stored.
The convenience store around the corner from my old apartment in Tokyo had a refrigerated section dedicated entirely to onigiri, and I never once walked past it without grabbing at least one. The tuna mayo version was always my weakness, that creamy center waiting inside perfectly seasoned rice. I spent months trying to recreate it at home before realizing the secret was absurdly simple: Japanese mayonnaise and warm hands.
I once packed six of these for a hiking trip and forgot them on the kitchen counter. My roommate ate all six before I even realized they were missing, which I decided to take as the highest compliment.
Ingredients
- Japanese short grain rice (2 cups): This is non negotiable because long grain rice will crumble and refuse to hold its shape no matter how hard you press.
- Water (2 1/2 cups): Measured precisely for the ideal texture, slightly less sticky than sushi rice but still cohesive enough to mold.
- Tuna in water, drained (1 can, 5 oz): Water packed tuna keeps the filling from becoming greasy, and draining it thoroughly is key.
- Japanese mayonnaise like Kewpie (3 tablespoons): The egg yolks and rice vinegar in Kewpie create a richness that regular mayonnaise simply cannot replicate.
- Soy sauce (1 teaspoon): Just enough to deepen the savory character without overpowering the delicate tuna flavor.
- Ground black pepper (1/4 teaspoon, optional): A subtle warmth that rounds everything out if you enjoy a hint of spice.
- Salt (1/2 teaspoon): Used on your hands during shaping to season the outside of each rice ball and prevent sticking simultaneously.
- Nori sheets, cut into strips (6 small pieces): They add a satisfying crunch and oceanic flavor, plus they make the onigiri easier to hold.
Instructions
- Wash the rice well:
- Rinse the rice under cold running water, swirling gently with your fingers, until the water turns from milky to mostly clear. This removes excess surface starch that would otherwise make the rice gummy.
- Cook and rest the rice:
- Combine the rinsed rice with 2 1/2 cups of water in a rice cooker or heavy bottomed pot and cook according to your usual method. Let it sit covered for 10 minutes after cooking so the grains firm up slightly.
- Mix the tuna mayo filling:
- While the rice rests, break up the drained tuna in a bowl and fold in the mayonnaise, soy sauce, and pepper until you have a creamy, cohesive mixture. Give it a taste and adjust with a little more mayo if it feels dry.
- Prepare your hands:
- Wet both palms lightly with water and rub the salt evenly across them so every surface is seasoned. The moisture creates a barrier that keeps rice from sticking while the salt flavors the outside.
- Shape the onigiri:
- Press about half a cup of warm rice into a flat disc in your palm, spoon a generous tablespoon of filling into the center, and fold the rice over it. Cup your hands together and rotate gently to form a triangle or oval, pressing just firmly enough that it holds without crushing the grains.
- Wrap with nori:
- Press a strip of nori against the bottom edge of each rice ball and let it wrap around naturally. The nori softens slightly against the warm rice, creating a seal that keeps everything tidy.
 Save
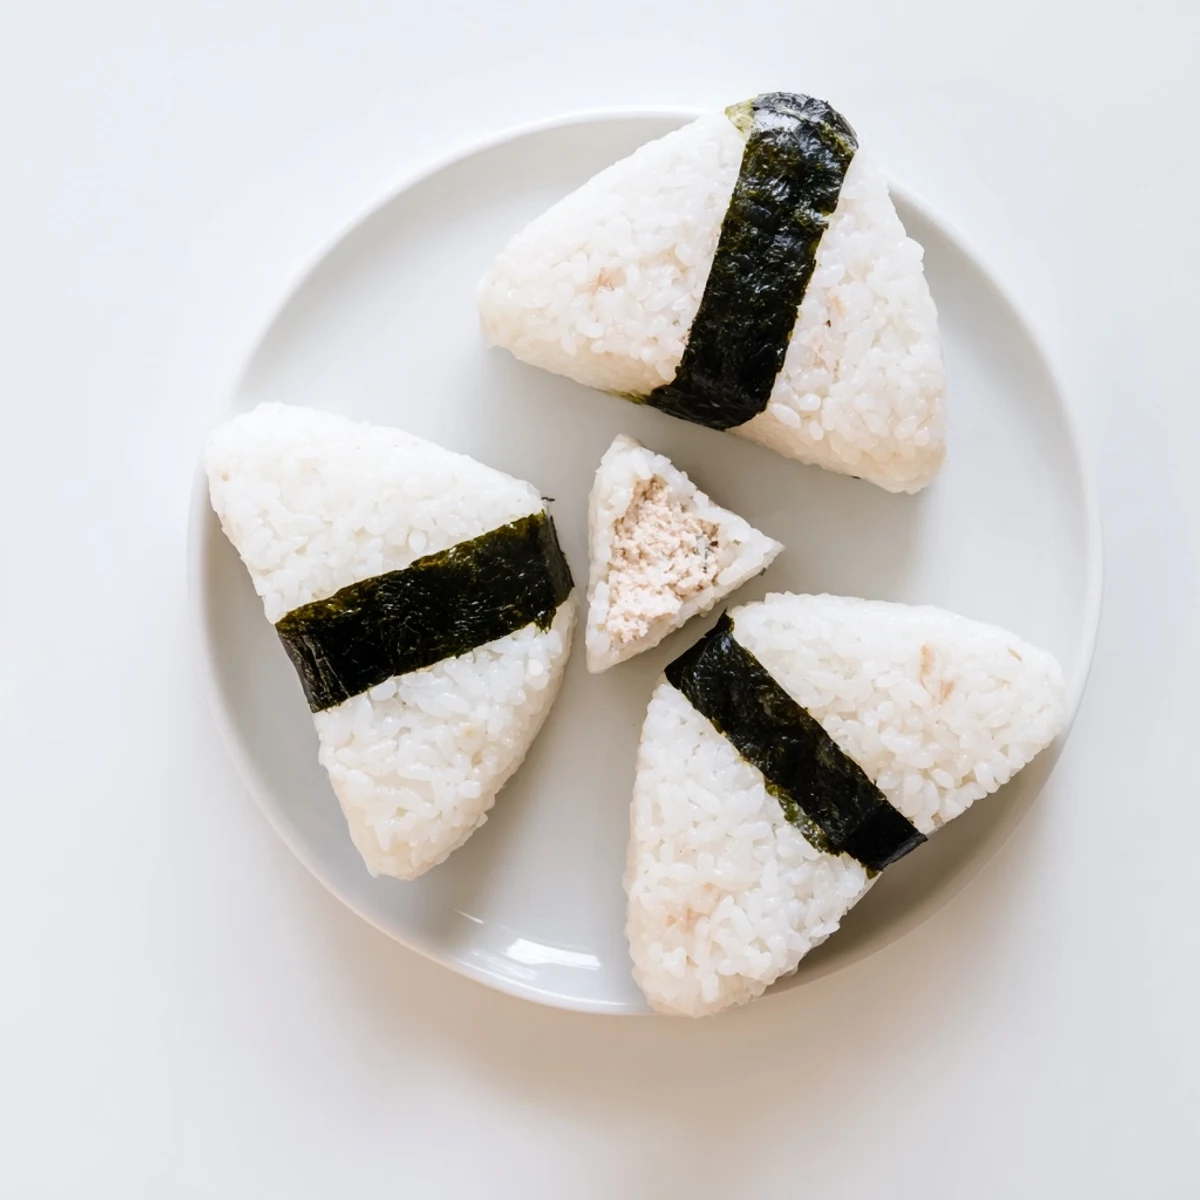
Save There is something quietly joyful about unwrapping a homemade onigiri at a picnic table, the nori still crisp and the rice still faintly warm. It transforms an ordinary afternoon into something that feels like a small gift you gave yourself.
What to Serve Alongside
These onigiri pair beautifully with a bowl of simple miso soup or a handful of edamame sprinkled with flaky salt. I have also been known to eat them standing at the counter with nothing else, which is perfectly acceptable.
Storing for Later
If you must save them, wrap each onigiri tightly in plastic wrap and refrigerate for up to 24 hours, though the texture is always best on day one. The nori will lose its crunch overnight, so consider wrapping it separately and adding it just before eating.
Variations Worth Trying
The beauty of onigiri is how forgiving they are once you master the basic shaping technique. You can swap the tuna mayo for almost anything you have on hand.
- Try adding finely chopped scallions or a few drops of toasted sesame oil to the filling for extra depth.
- A small umeboshi plum tucked into the center is a traditional alternative that cuts through the richness beautifully.
- Regular mayonnaise works if Kewpie is unavailable, though the flavor will be slightly less tangy and rich.
 Save
Save Once you have made onigiri a few times, your hands will know exactly how much pressure to apply and the whole process becomes second nature. That is when the real fun begins.
Recipe FAQs
- → What type of rice works best for onigiri?
-
Japanese short-grain rice is essential because its high starch content creates the sticky texture needed to hold the shape. Long-grain varieties won't bind properly and will fall apart when forming the triangles or ovals.
- → Can I use canned tuna in oil instead of water?
-
Yes, though you'll want to reduce or omit the added oil components. The filling may become richer, so adjust mayonnaise quantity to maintain the creamy consistency without overpowering the rice.
- → How do I prevent the rice from sticking to my hands?
-
Wet your hands with cold water and lightly rub salt into your palms before shaping each onigiri. The water creates a barrier while the salt enhances flavor and helps preserve the rice.
- → Can I make these ahead of time?
-
They're best enjoyed the same day when the rice texture is optimal. If storing, wrap tightly in plastic and refrigerate for up to 24 hours. Let come to room temperature before eating for the best experience.
- → What can I substitute for Japanese mayonnaise?
-
Regular mayonnaise works, though the flavor profile will be slightly different. Japanese mayo has a richer, sweeter taste and creamier texture. Add a touch of rice vinegar or sugar to regular mayo to approximate the flavor.
- → Do I need to use nori seaweed?
-
While traditional, nori is optional. It provides a crisp texture and makes handling easier. Without it, the rice balls are still delicious but more fragile to hold and transport.