 Save
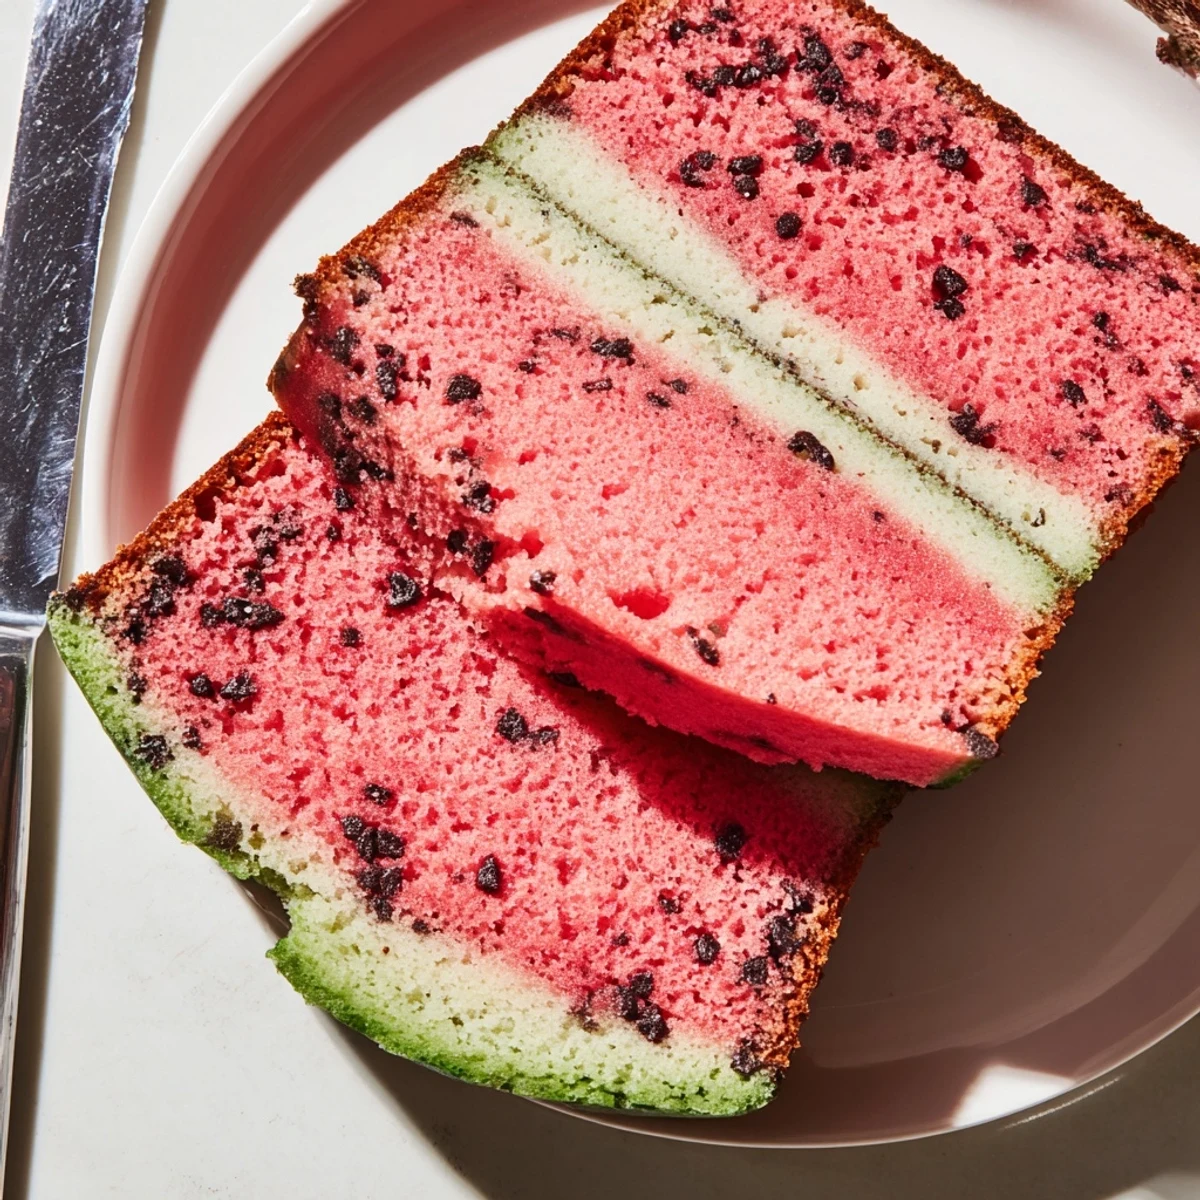
Save This eye-catching bread transforms simple dough into a watermelon masterpiece with three vibrant layers. The soft, sweet dough gets divided and colored—pink for the flesh, plain white for the rind, and green for the skin—then stacked and baked into a beautiful swirled loaf. Mini chocolate chips mimic the seeds throughout the pink center, while optional watermelon extract adds authentic fruity notes. The result is a tender, mildly sweet bread that's as fun to make as it is to serve.
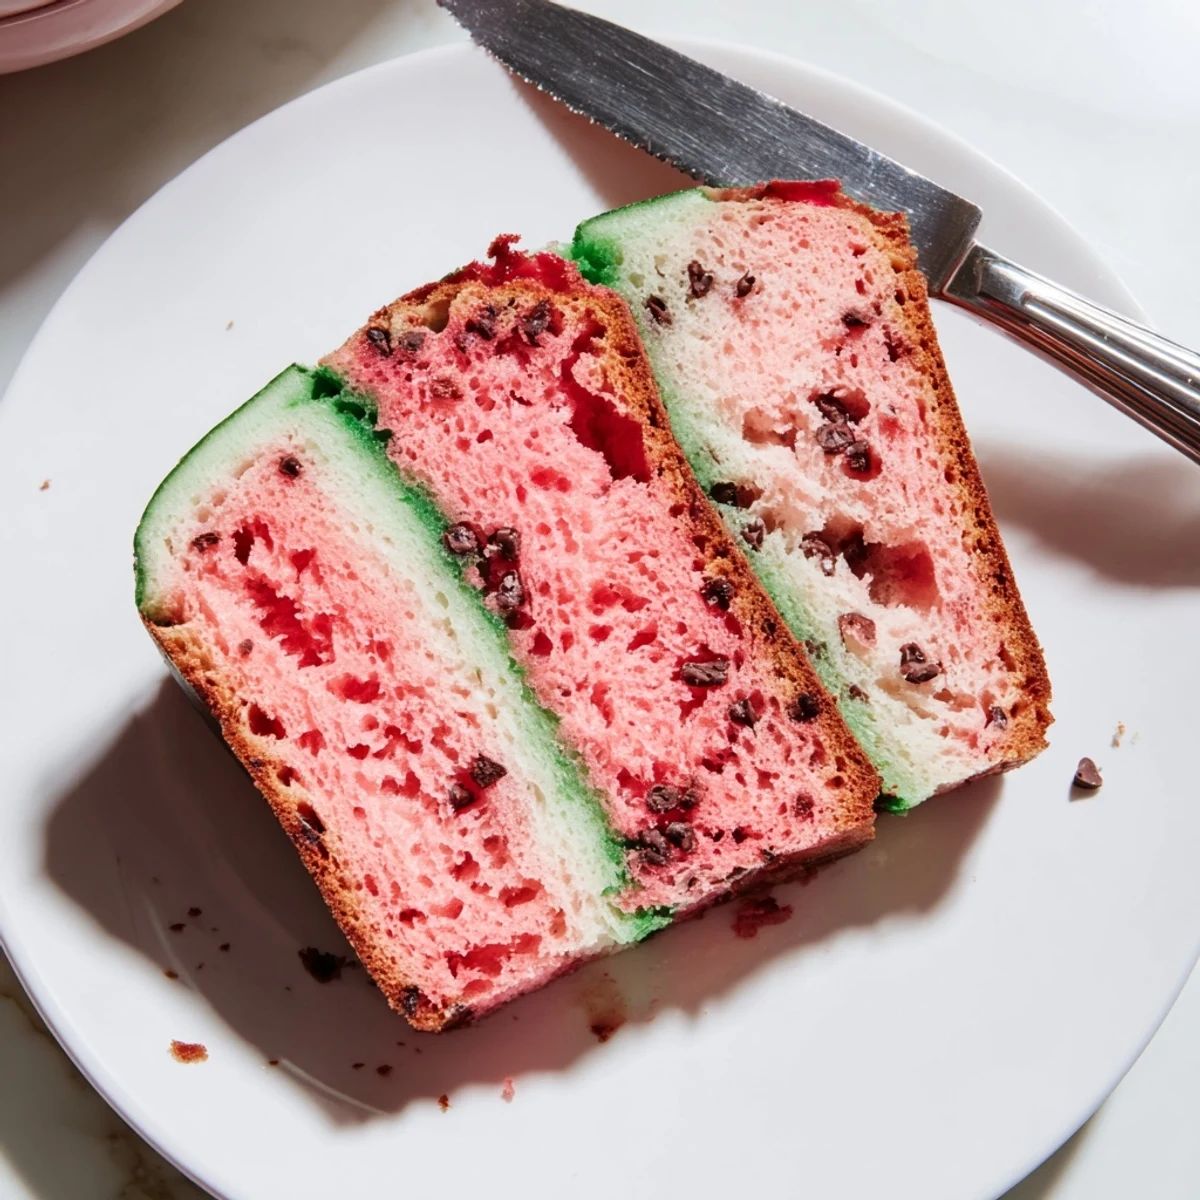
Perfect for summer parties, children's lunches, or whenever you want to surprise guests with something unexpected. Each slice reveals the classic watermelon pattern, making it an instant conversation starter. Serve toasted with butter, use for creative sandwiches, or enjoy plain as a special treat.
Last July, my niece watched wide-eyed as I sliced through a loaf of watermelon bread, revealing those chocolate chip 'seeds' hidden inside. She immediately demanded to know how bread could look like her favorite summer fruit, and suddenly my kitchen became a science lab. We spent the afternoon experimenting with food coloring and dough, flour ending up everywhere. That joyful mess convinced me this recipe deserves a spot in every summer baking repertoire.
I brought a loaf to our neighborhood potluck last summer, setting it alongside ordinary sandwiches and salads. Within minutes, people were gathering around the bread basket, phones out, taking pictures of the cross-sections. Someone actually asked if Id smuggled a real watermelon into the kitchen. That loaf disappeared faster than the dessert table.
Ingredients
- Bread flour: Higher protein content creates structure for those distinct layers to hold their shape during rising
- Active dry yeast: Gives the bread its lift and tender crumb, make sure your milk is warm but not hot to avoid killing the yeast
- Warm milk: Should feel like bath temperature against your wrist, around 110°F, for optimal yeast activation
- Unsalted butter: Softened to room temperature so it incorporates evenly into the dough without leaving pockets
- Cocoa powder: Used minimally for the darker green skin layer, adds a subtle depth that pure green coloring lacks
- Matcha powder or green food coloring: Matcha gives an earthy note but gel coloring creates more vibrant outer skin
- Red or pink gel food coloring: Gel coloring provides intense hue without adding excess liquid that could throw off dough consistency
- Watermelon extract: Completely optional but adds that authentic fruity note, vanilla works as a substitute
- Mini chocolate chips: Fold these into the red portion sparingly so they mimic scattered seeds throughout the flesh
Instructions
- Mix the foundation:
- Combine flour, sugar, yeast, and salt in your stand mixer, then pour in warm milk, egg, and softened butter. Knead for 8 to 10 minutes until the dough becomes smooth and passes the windowpane test when stretched gently.
- Divide and color:
- Split your dough into three portions with the largest being 60 percent for the red flesh, 25 percent for white rind, and 15 percent for green skin. Work red coloring and extract into the largest ball, leave the medium one plain, and mix green into the smallest.
- Add the seeds:
- Gently fold chocolate chips into the red portion, distributing them unevenly so they look naturally scattered rather than perfectly placed.
- Let dough rise:
- Place each colored ball in its own greased bowl, cover with a kitchen towel, and walk away for an hour. The dough should double in size, feeling puffy and alive when you press it gently.
- Shape the layers:
- Flatten the red dough into a log the length of your loaf pan, then wrap the white dough completely around it like a blanket. Roll the green dough into a thin sheet and envelop both layers, pinching the seam tightly to seal everything inside.
- Second rise:
- Set the loaf seam side down in your greased pan, cover loosely, and let it puff up for another 30 to 45 minutes until it crowns above the pan edges.
- Bake to perfection:
- Slide into a 350°F oven for 30 to 35 minutes, tenting with foil if the green layer darkens too quickly. The bread should sound hollow when tapped on the bottom.
- Cool completely:
- Let it rest in the pan for 10 minutes, then turn out onto a wire rack. Wait until fully cooled before slicing or the layers will smoosh together.
 Save
Save My youngest daughter now requests this bread for her school lunch every summer, claiming it makes ordinary sandwich fillings taste like sunshine. Something about cutting into that bright watermelon pattern turns a regular Tuesday into a tiny celebration.
Getting the Colors Right
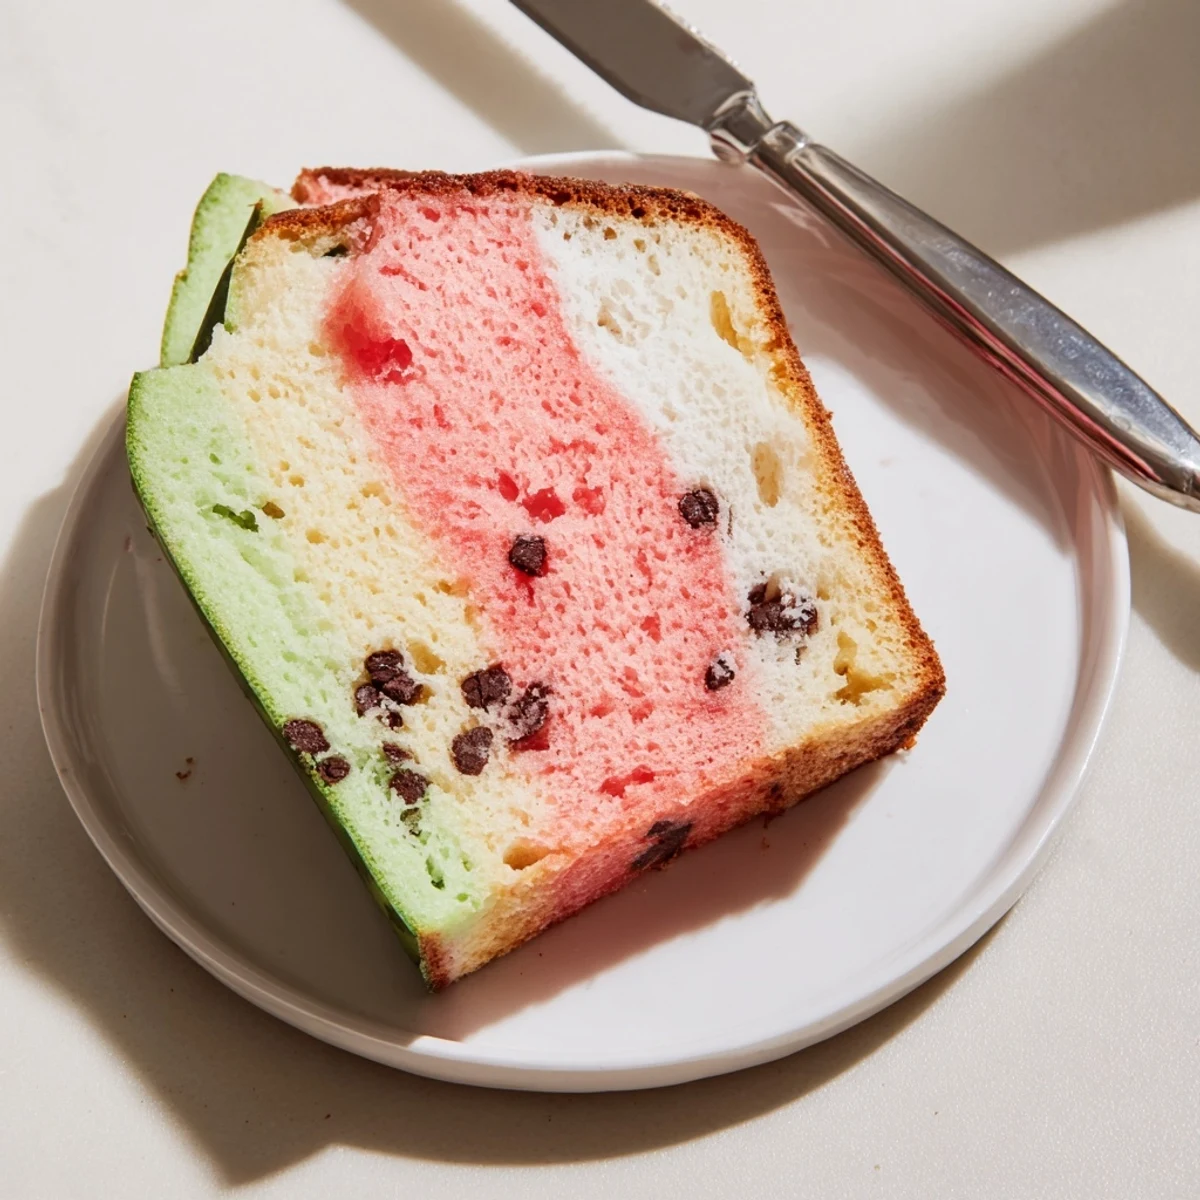
Ive learned that less coloring produces more realistic results. That first attempt, I used so much red that the bread looked almost artificial. Now I add coloring gradually, stopping when the dough resembles the soft pink inside a real watermelon rather than cartoon bright red.
Working with Multiple Doughs
Managing three separate dough portions can feel chaotic, especially when each needs to rise separately. Clear your counter completely before starting and keep each portion in its own bowl to prevent colors from accidentally mixing. Wash your hands thoroughly between handling each colored section.
Serving and Storage
This bread makes the most incredible french french toast, the red center caramelizing beautifully while the green skin becomes slightly crisp. It also shines simply toasted and buttered, letting those subtle watermelon notes come through. For storage, wrap tightly in plastic and it stays fresh for three days, though it rarely lasts that long in my house.
- Freeze individual slices if you want to extend the life of your loaf
- Serve thick slices grilled with cream cheese for an unexpected dessert
- The pattern stays vibrant even after toasting, making it perfect for breakfast guests
 Save
Save Every time I pull a loaf from the oven, I remember that afternoon covered in flour with my niece, proving that the most memorable recipes are the ones that make us pause and smile.
Recipe FAQs
- → Does this actually taste like watermelon?
-
The bread has a very subtle fruity sweetness. The watermelon extract provides a light watermelon essence, but without it, the flavor is primarily sweet and mild. The visual appeal is the main attraction here.
- → Can I use liquid food coloring instead of gel?
-
Gel food coloring works best because it doesn't add excess liquid to the dough. Liquid coloring can be used but may slightly affect the dough consistency. Start with small amounts and adjust as needed.
- → How do I prevent the colors from bleeding together?
-
Make sure each dough portion is well-wrapped and rises separately. When assembling, pinch the seams tightly to seal. Proper layering technique—red center, white middle, green exterior—keeps the colors distinct during baking.
- → Can I make this without a stand mixer?
-
Absolutely. Knead by hand for 10-12 minutes until the dough is smooth and elastic. The process takes a bit more effort but yields the same beautiful results.
- → How should I store this bread?
-
Keep in an airtight container at room temperature for up to 3 days. For longer storage, wrap well and freeze for up to 3 months. Slice before freezing for easy toasting.
- → Can I make dairy-free or vegan versions?
-
Substitute plant-based milk for dairy milk, vegan butter for regular butter, and a flax egg or commercial egg replacer for the egg. The texture remains similar with these adjustments.