 Save
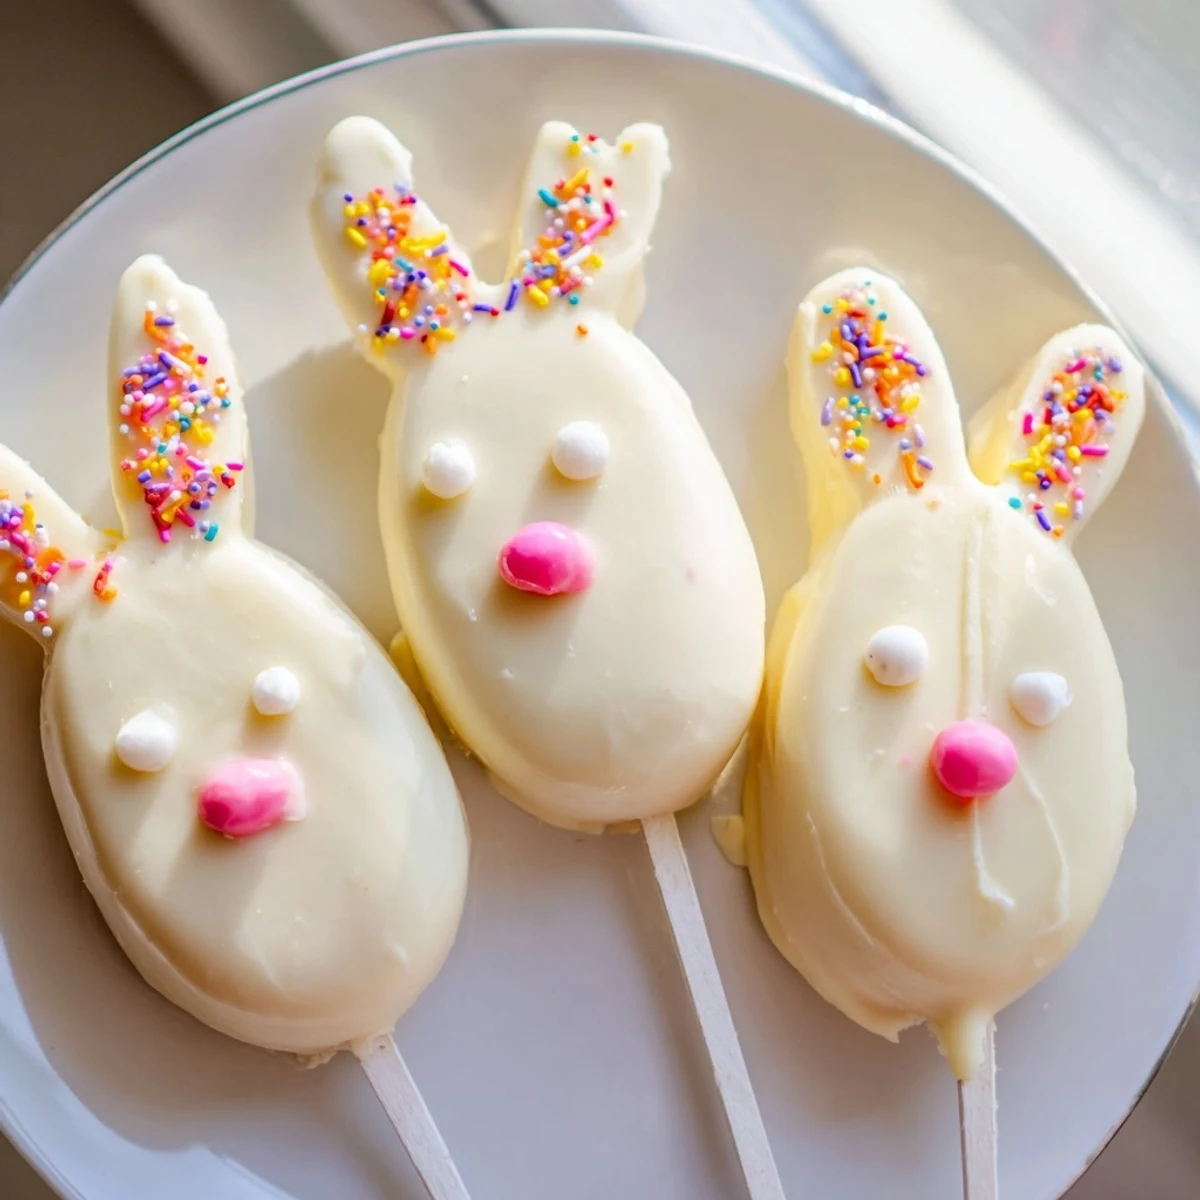
Save These delightful bunny-shaped cakesicles combine moist vanilla cake with a rich white chocolate coating, creating the perfect handheld Easter treat. The cake mixture combines vanilla crumbs with cream cheese and butter for a fudgy texture that holds its shape beautifully on sticks. After shaping into bunny faces, each piece gets dipped in smooth white chocolate and decorated with candy eyes, sprinkles, or fondant features for that festive touch. The entire process takes just one hour from start to finish, yielding eight adorable treats that will brighten any Easter celebration.
My daughter stumbled into the kitchen clutching her stuffed bunny and announced that Easter treats should be cute enough to hug. We spent the afternoon experimenting with cake pop shapes until these little bunny faces emerged from our messy attempts. Now they're the first thing everyone reaches for at our family gatherings, probably because they're almost too adorable to eat.
Last Easter, my niece spent two hours carefully placing candy eyes on each bunny, declaring that every single one needed its own personality. We ended up with a whole family of cakesicles, from sleepy bunnies to surprised ones, each named and cherished before they even made it to the dessert table.
Ingredients
- Vanilla cake crumbs: I've discovered that slightly stale cake actually works better than fresh for holding its shape
- Cream cheese: Room temperature is non-negotiable here or you'll end up with lumpy pockets in your dough
- Unsalted butter: The cream cheese already adds salt, so this keeps the balance perfect
- Powdered sugar: This tiny amount brings just enough sweetness without making the dough sticky
- Vanilla extract: Pure extract makes a noticeable difference in the final flavor
- White chocolate: Candy melts are easier for beginners but real white chocolate tastes infinitely better
- Edible gel food coloring: Skip the liquid stuff which will seize your chocolate instantly
- Cakesicle sticks: Paper sticks work but the wooden ones hold up better against moist cake
Instructions
- Mix the cake dough:
- Combine everything in a bowl and mix until the crumbs start clumping together like damp sand. You'll know it's ready when you can squeeze a handful and it holds its shape without crumbling.
- Shape your bunnies:
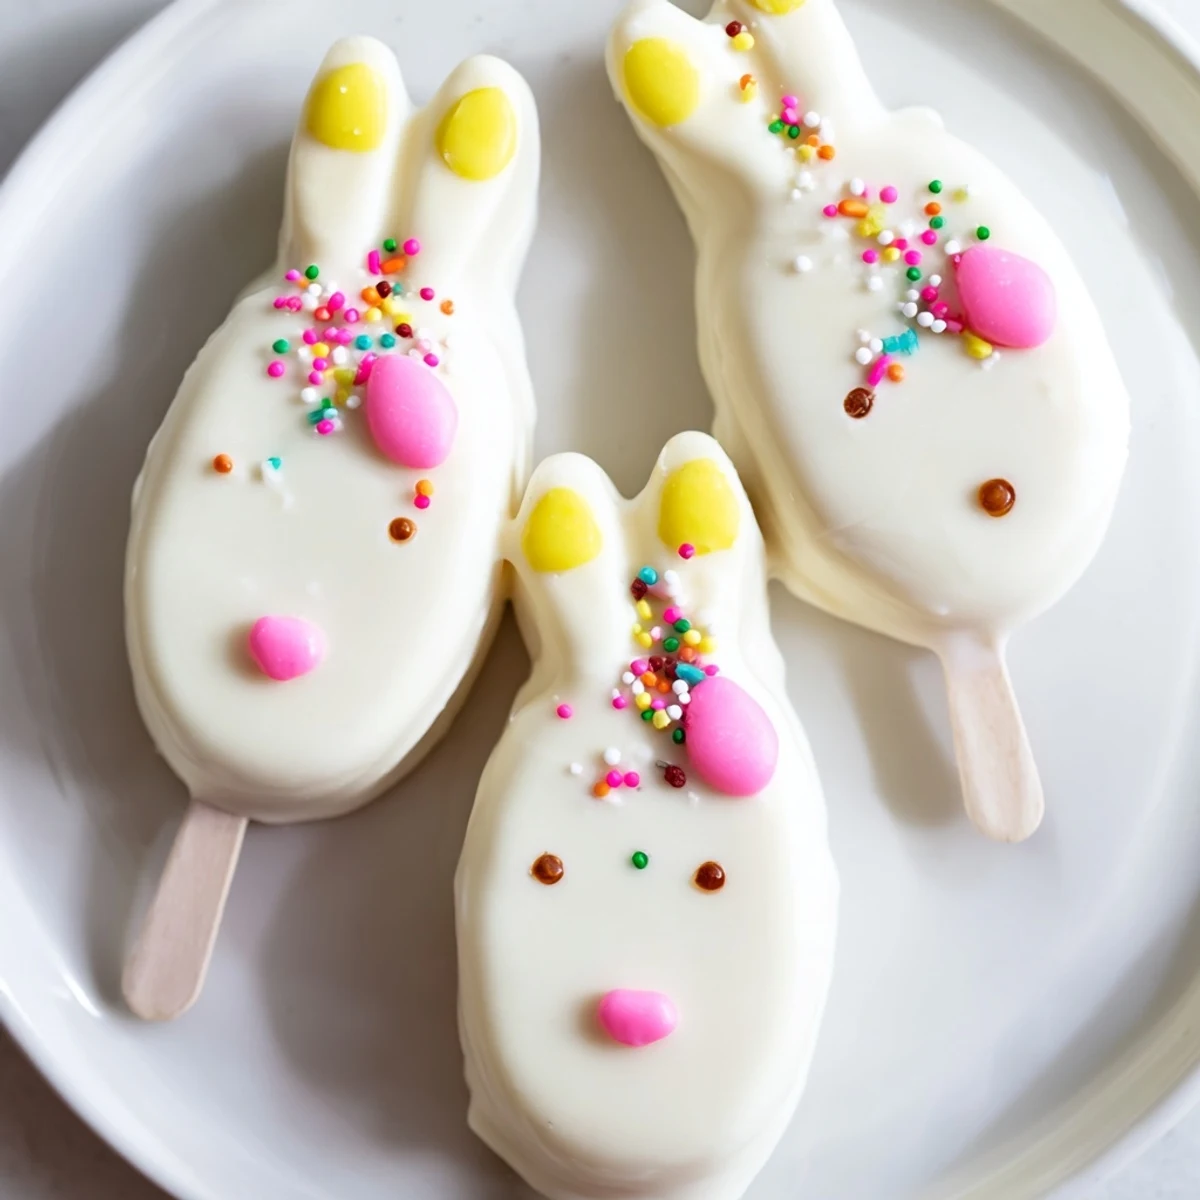
- Divide the dough into eight equal portions and press each into an oval with slightly pointed top corners for ears. Don't worry about perfection—bunny faces are supposed to be a little quirky and charming.
- Insert sticks and chill:
- Gently push each stick about halfway into the center of your bunny shape. Refrigerate them for at least 20 minutes because cold cake pops are the difference between coating that stays put and coating that slides right off.
- Melt the white chocolate:
- Heat in 30-second bursts, stirring religiously between each one. White chocolate burns faster than you think possible, turning from smooth to grainy in seconds.
- Dip and decorate:
- Lower each cake pop straight down into the chocolate, pull it up slowly, and gently tap your wrist against the bowl to remove excess. Work quickly adding eyes, noses, and sprinkles because that coating starts setting almost immediately.
 Save
Save My neighbor's kids now request these for every holiday, just changing the shapes and colors. Something about food on a stick makes everything taste better to children, and watching them carefully choose which bunny to eat first has become my favorite part of hosting.
Getting The Perfect Coating
Thin chocolate is the secret to smooth coating. If yours seems too thick, add a teaspoon of coconut oil or vegetable shortening and stir until it flows like heavy cream. I learned this after my first batch came out looking like they were wearing lumpy sweaters instead of smooth fur.
Custom Bunny Personalities
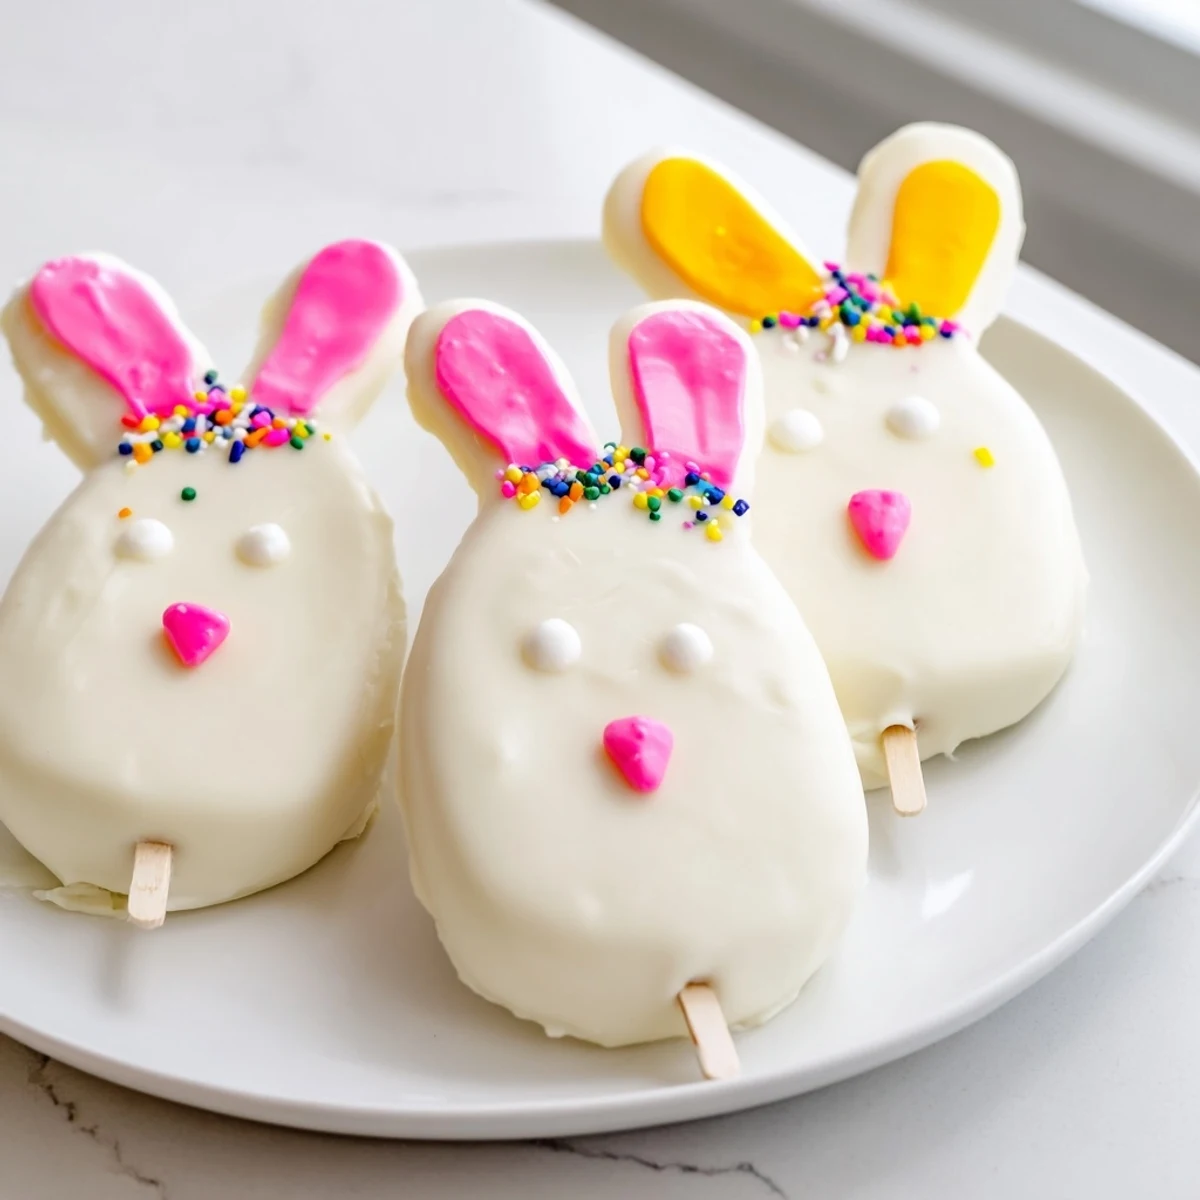
Position the candy eyes slightly higher or lower to give each bunny a different expression. I like making a few with crossed eyes for the funny ones and some with tiny pink noses right at the tip for the curious ones. The kids will notice and appreciate these tiny details.
Make-Ahead Strategy
You can shape and refrigerate the cake pops up to two days before dipping. The white chocolate coating stays fresh for three days at room temperature in an airtight container. Avoid refrigerating after dipping because condensation will make the coating sticky and streaky.
- Set up your decorating station before you start dipping because timing matters
- Keep a clean toothpick handy for repositioning eyes that slide slightly
- Work with only 3-4 pops at a time so the chocolate doesn't set before decorating
 Save
Save These little bunnies have become my go-to contribution for school parties and office gatherings. There's something universally delightful about bite-sized cake that makes even the most serious adults smile.
Recipe FAQs
- → Can I make these cakesicles ahead of time?
-
Yes! You can prepare the cake mixture and shape the bunnies up to 2 days in advance. Store them in the refrigerator, then dip and decorate when ready to serve. Finished cakesicles keep well in an airtight container for up to 3 days.
- → What if I don't have a cakesicle mold?
-
No problem! Simply shape the mixture by hand into flattened ovals or bunny face shapes. The mold helps with uniformity, but hand-shaping works perfectly fine. Just ensure the shapes are thick enough to hold the sticks securely.
- → Can I use different cake flavors?
-
Absolutely! Chocolate, lemon, red velvet, or funfetti cake crumbs all work wonderfully. Just ensure your crumbs are fine enough to mix smoothly with the cream cheese mixture for the best texture.
- → How do I prevent the white chocolate from seizing?
-
Melt in 30-second bursts, stirring thoroughly between each interval. Avoid getting any moisture into the chocolate. If it becomes too thick, add a teaspoon of vegetable oil to smooth it out for dipping.
- → What's the best way to decorate bunny faces?
-
While the chocolate is still wet, press candy eyes and sprinkle noses directly onto the coating. For ears, use fondant shapes, pretzel sticks dipped in colored chocolate, or carefully pipe food coloring. Work quickly before the chocolate sets.
- → Can I freeze these treats?
-
Yes, freeze undecorated cakesicles between layers of parchment paper for up to 1 month. Thaw in the refrigerator, then dip in fresh white chocolate and decorate when ready to serve for the best appearance.