 Save
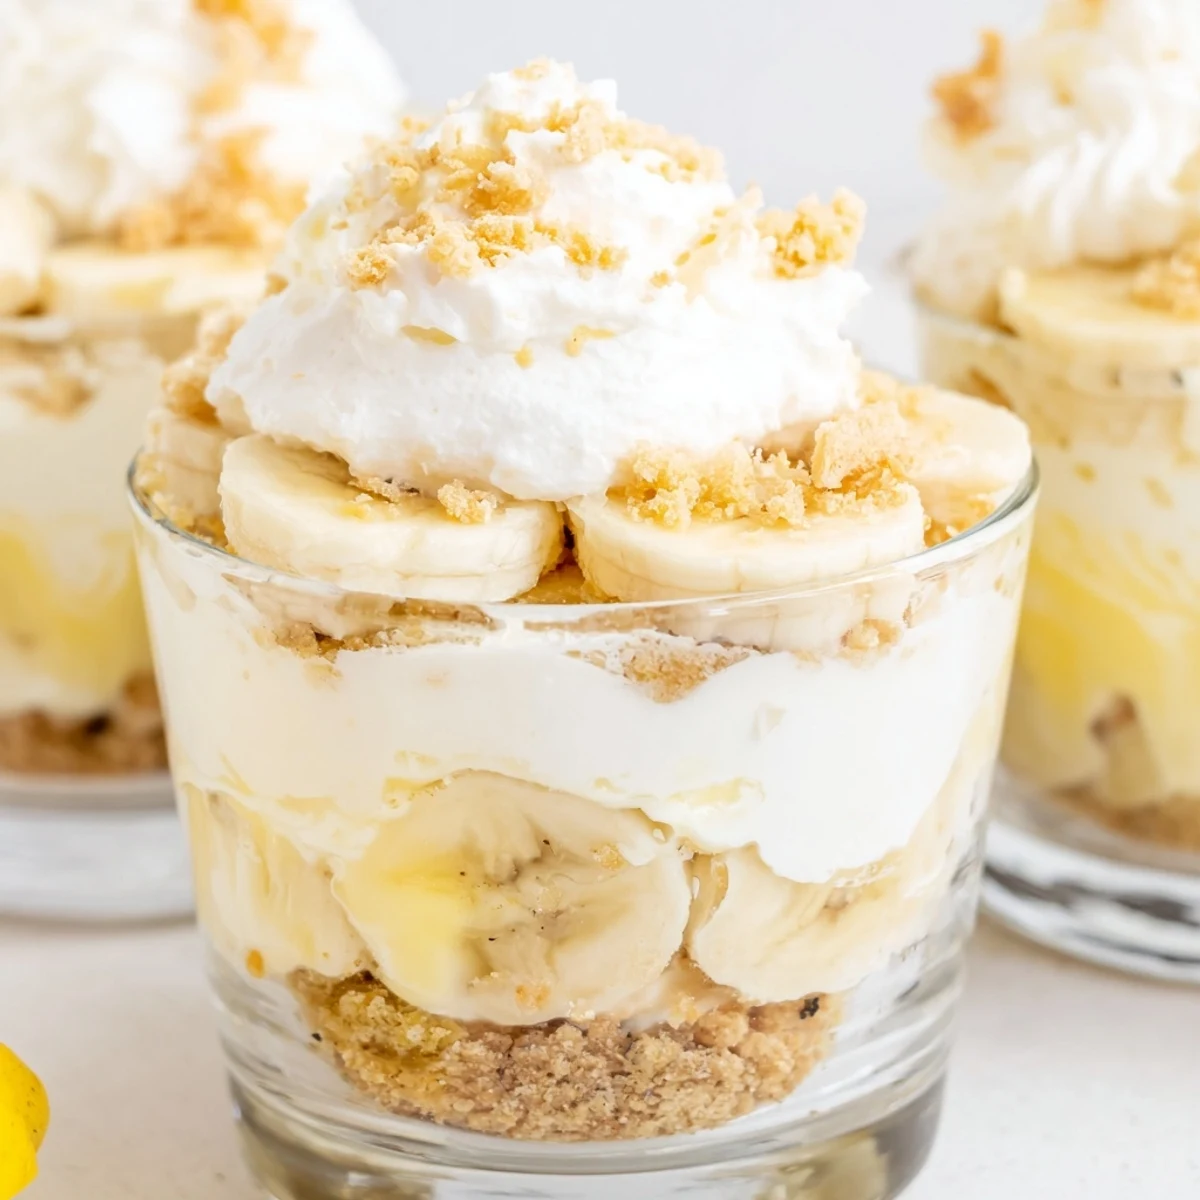
Save These individual cups combine the best of two classic desserts—creamy cheesecake and nostalgic banana pudding. Each serving features a buttery vanilla wafer crust, smooth cheesecake filling, luscious banana pudding layer, and fresh banana slices all topped with crunchy crumbs.
The entire assembly takes just 20 minutes of active preparation before chilling, making them perfect for entertaining or meal prep. The individual portions look elegant and are easy to serve, while the no-bake method keeps your kitchen cool even in summer.
Customize your cups with extra whipped cream, a dash of cinnamon in the crust, or a light lemon juice toss on the bananas to prevent browning. These versatile desserts can be prepared up to 24 hours in advance.
My youngest sister called me at 9 PM on a Tuesday, demanding I bring dessert to her impromptu potluck the next day. These no-bake cheesecake cups saved my reputation—they disappeared before the main dish even hit the table. Now they're my go-to rescue recipe for every impossible timeline.
I once made these for a friend who swore she hated banana pudding. She texted me at midnight that same night, already planning when she could reasonably request them again. The combination of tangy cheesecake and sweet, creamy banana pudding wins over even the skeptics.
Ingredients
- 1 cup vanilla wafer cookies, crushed: These little cookies are the unsung heroes of the dessert world—their subtle vanilla flavor bridges the gap between cheesecake and pudding beautifully
- 2 tbsp unsalted butter, melted: Just enough to bind the crumbs together without making the crust soggy or greasy
- 8 oz cream cheese, softened: Room temperature is non-negotiable here or you'll end up with tiny lumps that ruin the silky texture
- 1/3 cup granulated sugar: This small amount sweetens the cheesecake layer without competing with the banana pudding's sweetness
- 1 tsp pure vanilla extract: Don't skip this—it's the secret that makes the cheesecake layer taste like something from a bakery
- 1 cup heavy whipping cream, cold: The colder the cream, the faster it whips and the more stable your cheesecake layer becomes
- 1 package instant banana pudding mix: The shortcut that makes this recipe accessible for weeknight desserts
- 1 1/4 cups cold whole milk: Whole milk creates a richer pudding that holds its own against the creamy cheesecake layer
- 2 ripe bananas, sliced: Look for bananas with some brown spots—they're sweeter and blend better with the other flavors
- Additional vanilla wafer crumbs, fresh banana slices, and whipped cream: The finishing touches that make these cups look like you spent hours on them
Instructions
- Build the foundation:
- Mix your crushed vanilla wafers with melted butter until every particle is coated and the mixture holds together when squeezed. Divide about 2 tablespoons into each serving cup and press down gently with the back of a spoon to create an even crust layer.
- Whip up the cheesecake base:
- Beat your softened cream cheese with sugar and vanilla until it's completely smooth with no remaining lumps. In a separate bowl, whip your cold heavy cream until stiff peaks form, then gently fold it into the cream cheese mixture until fully combined.
- Prepare the pudding layer:
- Whisk the instant banana pudding mix with cold milk for about 2 minutes until it thickens into a silky consistency. Let it sit for a few minutes while you assemble the other layers.
- Layer the magic:
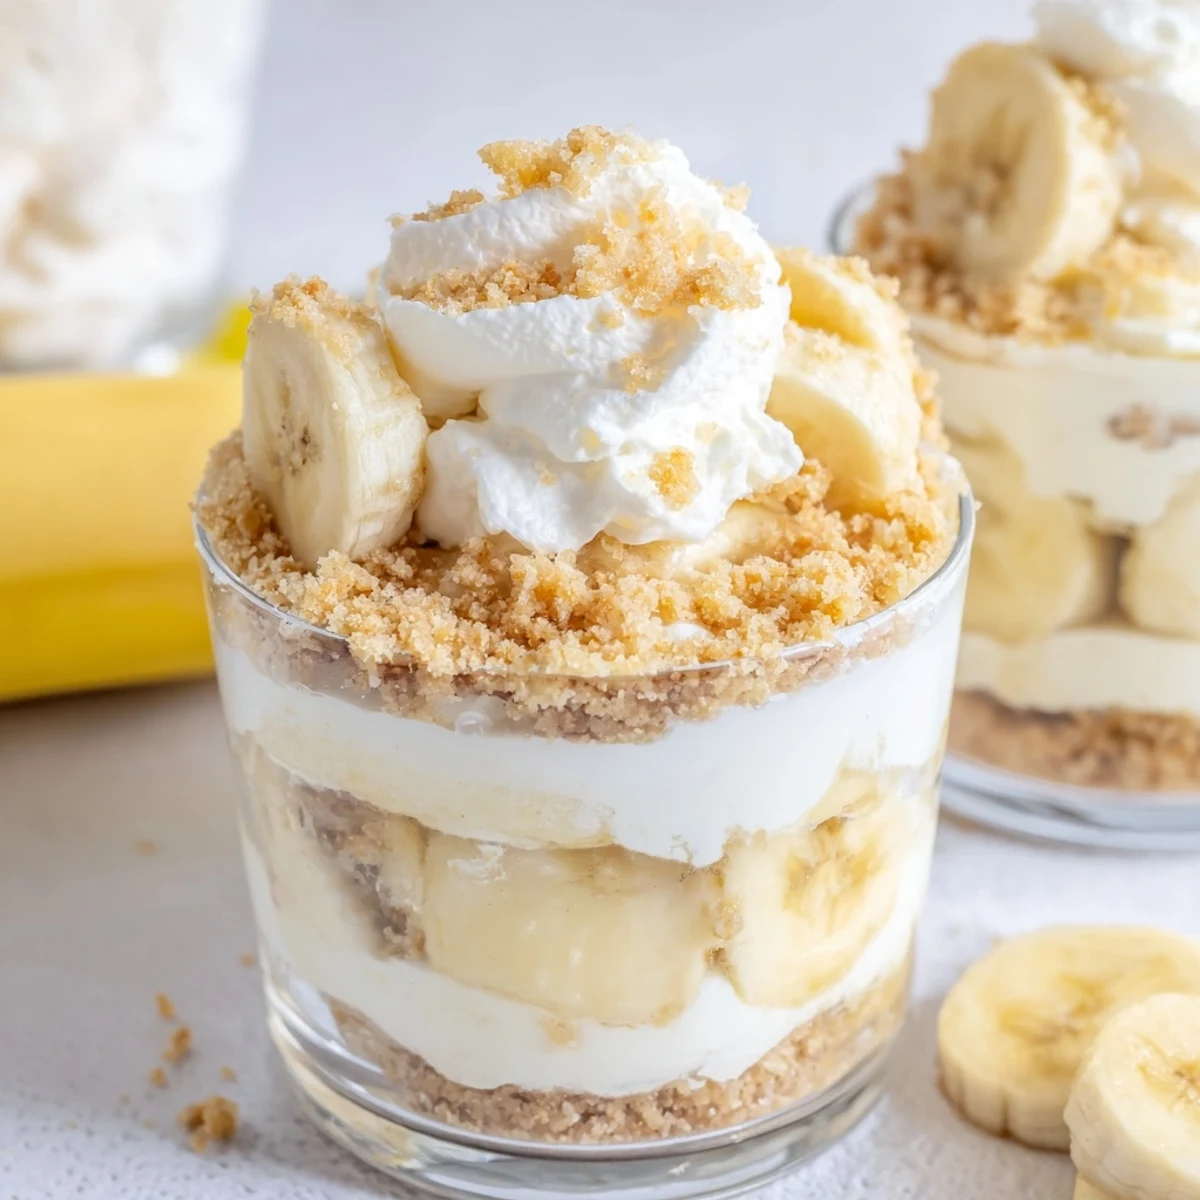
- Spoon half your cheesecake mixture over the crust in each cup, followed by a layer of fresh banana slices. Divide the banana pudding among the cups, then top with the remaining cheesecake mixture, spreading it carefully to avoid disturbing the layers beneath.
- Finish and chill:
- Sprinkle each cup with additional wafer crumbs and add fresh banana slices on top. Add a dollop of whipped cream if you're feeling fancy, then refrigerate for at least 2 hours to let everything set and flavors meld together.
 Save
Save Last summer, my grandmother tried these and immediately declared them superior to her famous banana pudding recipe, which she's been making for forty years. I may or may not have teared up a little at that compliment.
Making These Your Own
Once you master the basic version, the variations are endless. I've made these with chocolate wafer crusts for a banana-chocolate twist, and even added a layer of caramel sauce between the pudding and cheesecake for extra indulgence.
Serving Suggestions
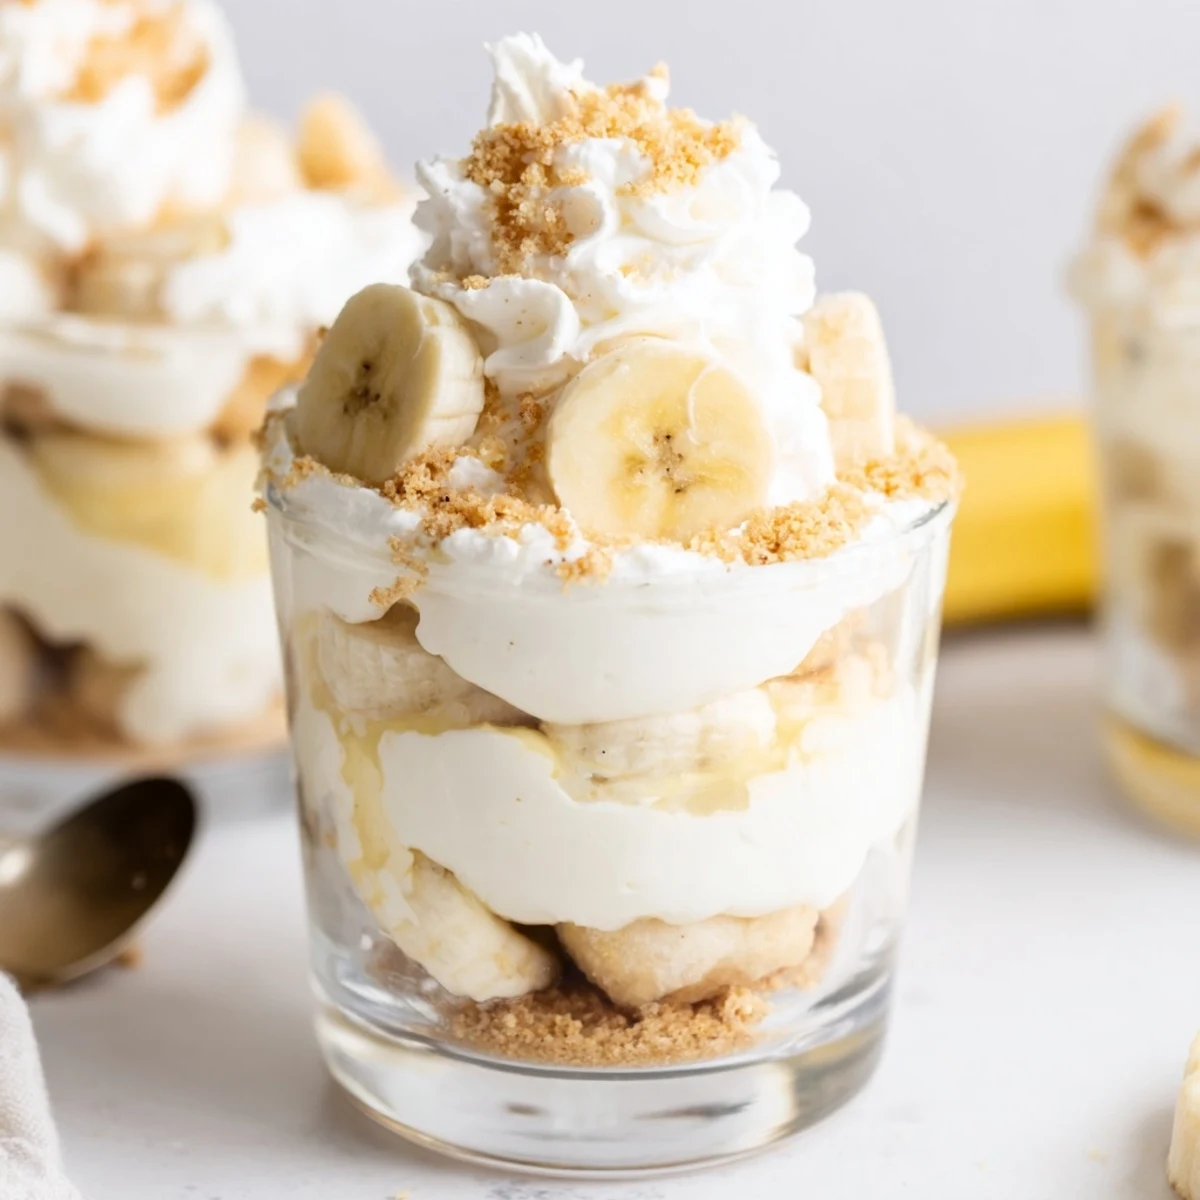
These cups shine at brunches, potlucks, or dinner parties where you want individual servings that look impressive. Clear glass cups or jars work best so guests can see the beautiful layers you've created.
Storage and Make-Ahead Tips
The cheesecake and pudding layers can be prepared separately up to 24 hours in advance and assembled just before serving. Store fully assembled cups in the refrigerator, covered loosely with plastic wrap, for up to 2 days.
- Press a piece of plastic wrap directly onto the surface to prevent the bananas from oxidizing
- Add the fresh banana topping no more than 2 hours before serving for the best appearance
- These cups don't freeze well due to the pudding and fresh banana texture
 Save
Save There's something deeply satisfying about serving a dessert that looks like it required professional skills but came together in your own kitchen with minimal fuss. These cheesecake cups might just become your most requested recipe too.
Recipe FAQs
- → How long do banana pudding cheesecake cups need to chill?
-
The cups need to refrigerate for at least 2 hours before serving to allow the layers to set properly. This chilling time ensures the cheesecake filling and banana pudding reach the perfect creamy consistency for clean scooping.
- → Can I make these cups ahead of time?
-
Yes, these can be prepared up to 24 hours in advance. For best results, add the fresh banana slices and crunchy wafer crumbs just before serving to maintain their texture and prevent the bananas from browning.
- → How do I keep the banana slices from turning brown?
-
Toss the banana slices lightly in lemon juice before adding them to the cups. The citric acid prevents oxidation and browning while adding a subtle brightness that complements the creamy layers.
- → Can I use homemade pudding instead of instant?
-
Yes, you can substitute homemade vanilla or banana pudding for the instant mix. Allow the homemade pudding to cool completely and thicken before layering it into the cups to prevent the cheesecake from melting.
- → What size cups work best for this dessert?
-
Use 6-8 ounce clear glass cups, mason jars, or dessert glasses. Clear vessels showcase the beautiful layers and allow guests to see the contrasting textures and colors of each component.
- → Can I freeze banana pudding cheesecake cups?
-
Freezing is not recommended due to the fresh bananas and creamy pudding texture, which can become grainy when thawed. These cups are best enjoyed within 2-3 days when stored covered in the refrigerator.