 Save
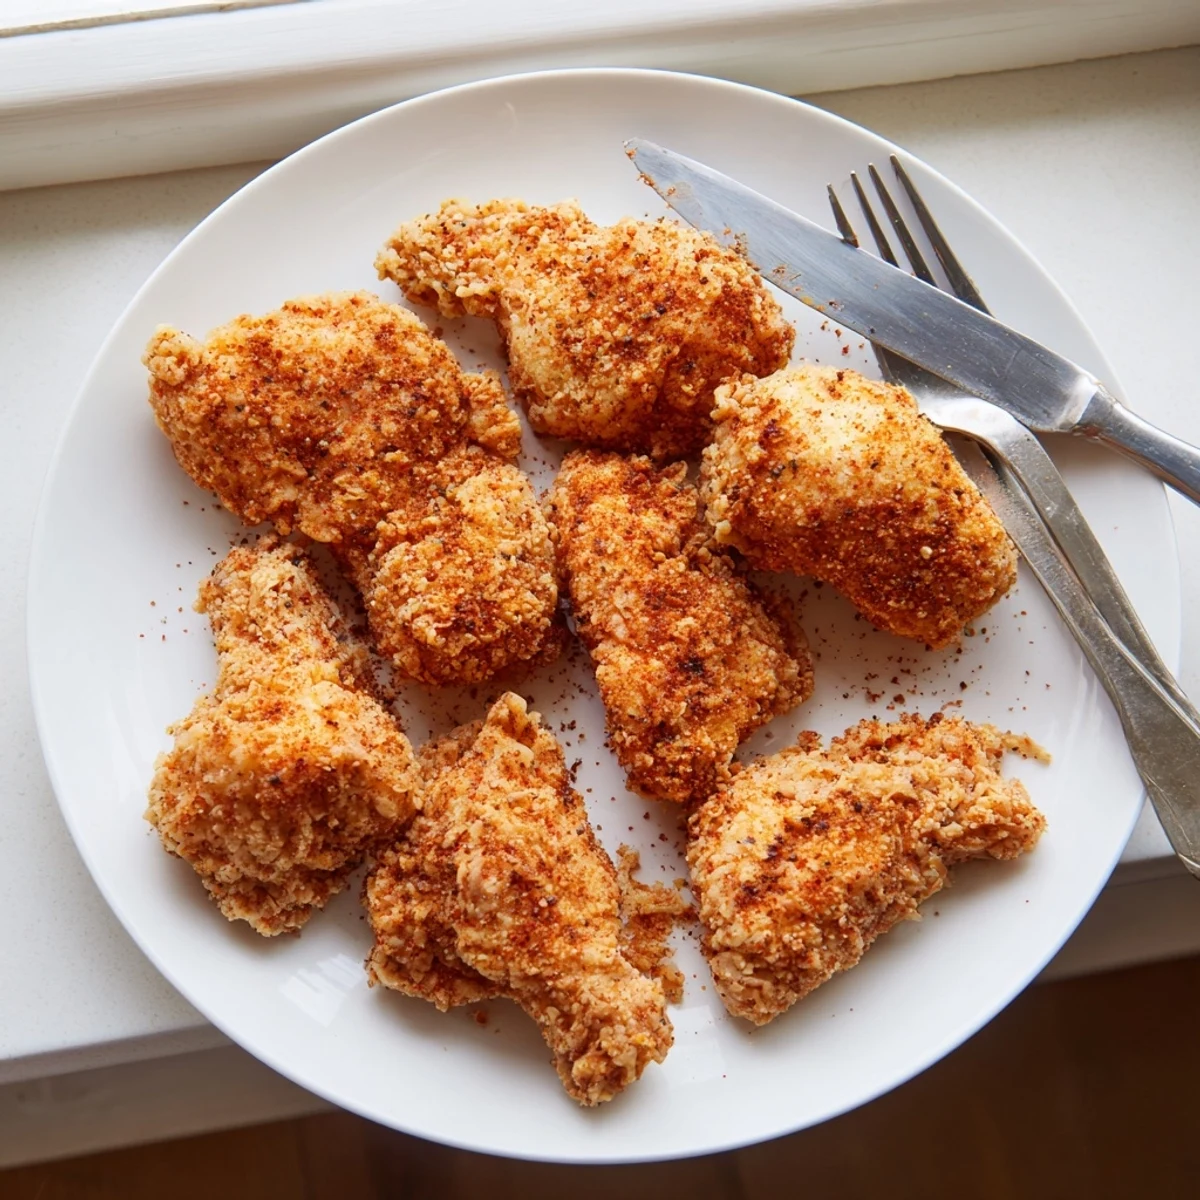
Save Transform simple chicken breasts into crispy, golden perfection with this easy method. The buttermilk marinade keeps the meat juicy and tender, while the spiced flour coating creates that irresistible crunch everyone loves. Ready in just 30 minutes, these fried breasts beat any takeout version.
The key is pounding the chicken to even thickness for consistent cooking, then letting it soak in the tangy buttermilk mixture. Double-dipping creates an extra-crispy crust that stays crunchy. Perfect with mashed potatoes, coleslaw, or your favorite dipping sauce for a satisfying meal.
The sound of oil popping in a cast iron skillet on a Sunday afternoon is enough to make anyone drift toward the kitchen. My neighbor once knocked on my door asking what I was cooking, and ended up staying for dinner with a plate of this fried chicken and zero hesitation. There is something deeply satisfying about nailing a crispy, juicy chicken breast at home, and this recipe gets you there every single time.
I once made this for a friend who swore she did not like fried chicken, and she asked for seconds before I even sat down to eat. That moment taught me that homemade always hits different, especially when the coating shatters just right and steam rises from the first cut.
Ingredients
- 4 boneless, skinless chicken breasts: Pounding them to an even thickness is the one step you cannot skip, because it guarantees even cooking and prevents dry edges.
- 1 cup buttermilk: This is what makes the meat tender and helps the breading cling beautifully, so do not be tempted to skip it.
- 1 teaspoon salt (marinade): Salting the buttermilk brine seasons the chicken from the inside out.
- 1/2 teaspoon black pepper (marinade): A gentle background warmth that pairs perfectly with the garlic.
- 1/2 teaspoon garlic powder (marinade): Garlic powder dissolves into the buttermilk and infuses every bite quietly.
- 1 1/2 cups all-purpose flour: The foundation of your coating, so grab a fresh bag if yours has been open for months.
- 1 teaspoon paprika: Adds a subtle smokiness and helps achieve that gorgeous golden color.
- 1/2 teaspoon cayenne pepper: Just enough to warm the back of your throat without overwhelming anyone.
- 1 teaspoon onion powder: Rounds out the savory notes in the breading beautifully.
- 1 teaspoon salt (breading): Seasoned flour is non negotiable if you want flavor in every crunch.
- 1/2 teaspoon black pepper (breading): Doubles down on the peppery crust everyone loves.
- Vegetable oil for frying (about 2 cups): Use a neutral oil with a high smoke point and make sure it comes halfway up the sides of your pan.
Instructions
- Flatten the chicken:
- Sandwich each breast between two sheets of plastic wrap and use a meat mallet or rolling pin to gently pound them to about half an inch thick. Listen for an even, soft thud as you work, and stop once everything looks uniform.
- Make the buttermilk bath:
- Whisk together the buttermilk, salt, pepper, and garlic powder in a wide bowl until combined. Submerge the pounded chicken fully, cover, and let it soak for at least thirty minutes or leave it overnight in the fridge for maximum tenderness.
- Build your seasoned flour:
- In a separate shallow bowl or dish, whisk the flour, paprika, cayenne, onion powder, salt, and black pepper until no streaks remain. Run your fingers through it to check for even distribution.
- Heat the oil:
- Pour oil into a large skillet to about half an inch deep and set it over medium high heat until it reaches 350 degrees Fahrenheit. Drop a tiny pinch of flour in to test it: if it sizzles immediately and floats, you are ready.
- Coat the chicken:
- Lift each breast from the buttermilk, let the excess drip off for a second, then lay it in the seasoned flour and press firmly on both sides. Really pack the coating on with your hands so it bakes into a thick, crunchy shell.
- Fry to golden perfection:
- Carefully lower the coated chicken into the hot oil, working in batches so you do not crowd the pan. Cook for six to seven minutes per side until deeply golden and the internal temperature reads 165 degrees Fahrenheit.
- Rest and serve:
- Transfer the chicken to a wire rack or paper towel lined plate and let it rest for five minutes. This pause lets the juices settle and keeps the crust crisp while you finish plating.
 Save
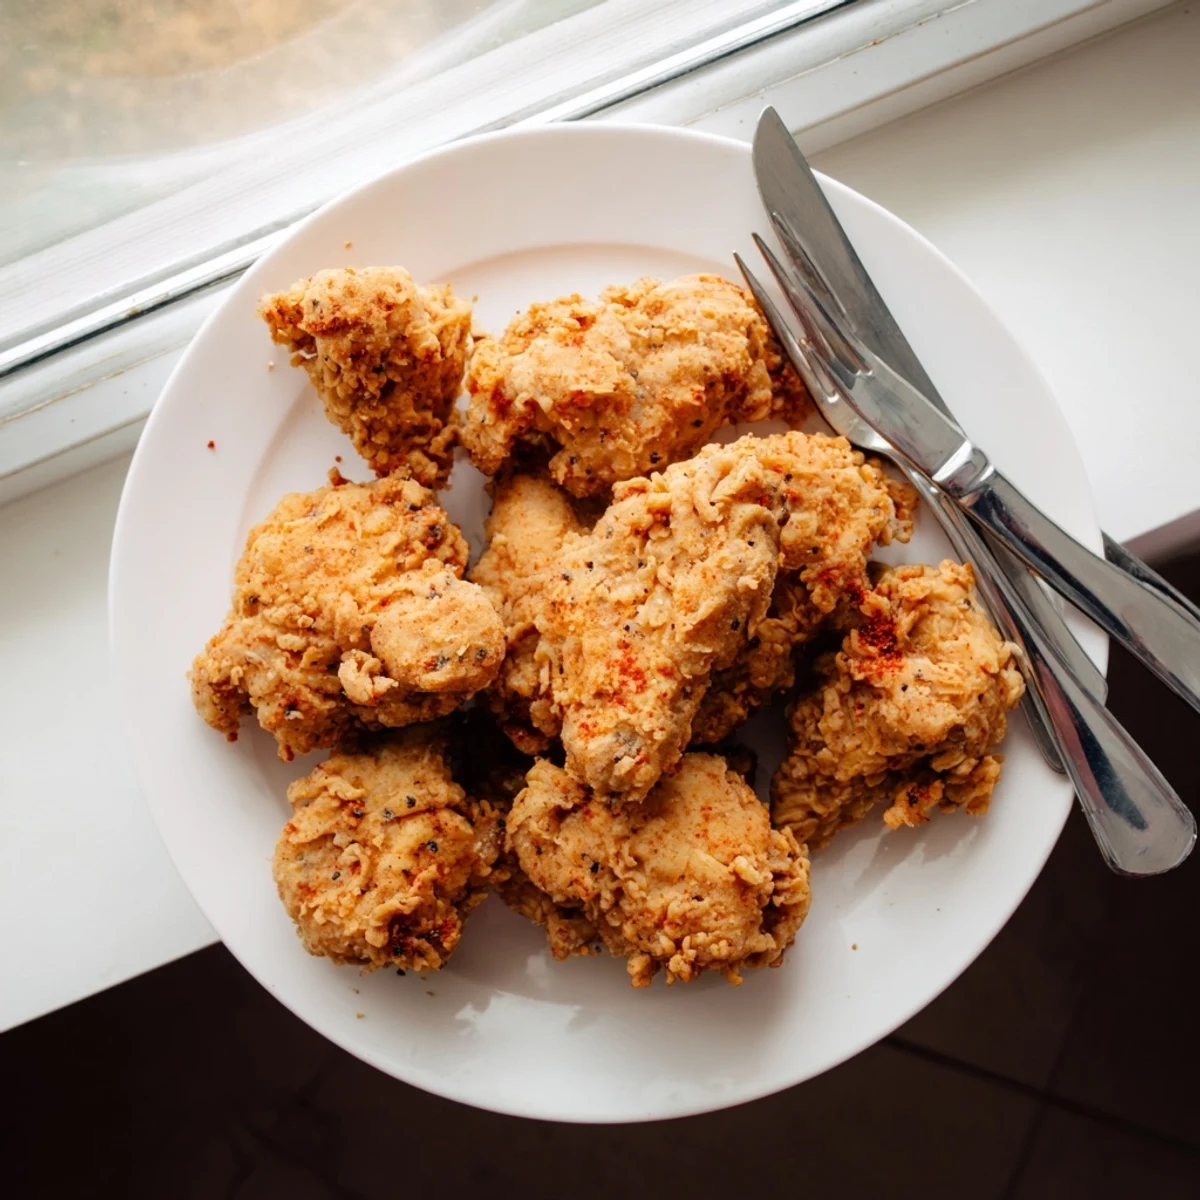
Save One rainy evening I plated this chicken alongside buttery mashed potatoes and watched my family go quiet, which is the highest compliment any cook can receive.
What to Serve Alongside It
Coleslaw cuts through the richness beautifully, and a squeeze of honey over the chicken with a side of biscuits turns this into a meal people talk about for weeks.
Making It Your Own
Swap in gluten free flour if you need to, add a tablespoon of hot sauce to the buttermilk for extra kick, or try smoked paprika instead of regular for a deeper flavor profile.
Storage and Reheating
Leftovers keep well in the fridge for up to three days, and the best way to reheat is in a 375 degree oven on a wire rack for about ten minutes so the crust comes back to life.
- Never microwave fried chicken unless you enjoy soggy disappointment.
- Freeze cooled pieces in a single layer on a baking sheet before transferring to a bag for up to two months.
- Always check your oil temperature with a thermometer rather than guessing.
 Save
Save Once you master this recipe, you will find yourself making it on weeknights, for potlucks, and every time someone needs a little comfort on a plate.
Recipe FAQs
- → How do I get the crispiest coating?
-
For extra crunch, double-dip by returning the chicken to the marinade after the first flour coating, then dredge again in the seasoned flour mixture. This creates a thicker, crunchier crust that stays crispy longer.
- → Can I use chicken thighs instead of breasts?
-
Absolutely. Boneless skinless thighs work well and stay juicier due to higher fat content. Adjust cooking time to 8-10 minutes per side and ensure internal temperature reaches 165°F.
- → What oil is best for frying?
-
Vegetable, canola, or peanut oil work best due to their high smoke points and neutral flavors. Avoid olive oil as it burns at high temperatures. Keep oil at 350°F for optimal crisping.
- → How long should I marinate the chicken?
-
Marinate for at least 30 minutes for basic tenderness. For best results, marinate overnight in the refrigerator—the buttermilk's acidity breaks down proteins, making the chicken exceptionally juicy and flavorful.
- → Can I make this gluten-free?
-
Yes. Substitute all-purpose flour with a 1:1 gluten-free flour blend containing xanthan gum. The coating may be slightly lighter but still deliciously crispy. Ensure all other ingredients are certified gluten-free.
- → How do I know when the chicken is done?
-
Use a meat thermometer to check the thickest part reaches 165°F. Visual cues include golden-brown coating and clear juices when pierced. Let chicken rest 5 minutes so juices redistribute.